THAT Wallet · Setup guide
Set Up Your Self-Custody Wallet
A simple, step-by-step guide to creating your THAT wallet, backing up your recovery phrase and locking it down — so your crypto is yours, and stays that way.
- About 10 minutes
- iPhone or Android
- Free
What you'll need
Your phone
iPhone or Android, with a screen lock (Face ID, fingerprint or passcode) set up.
A pen and paper
You'll write down 24 words. On paper — never a screenshot.
Somewhere private
Where no one can see your screen for a few minutes.
What self-custody means
The 7 steps
- Download the THAT AppFree on the App Store and Google Play
- Before You Create Your WalletPen, paper and the rules that keep it safe
- Create Your WalletA few taps in the THAT app
- Write Down Your 24 WordsYour 24-word recovery phrase, on paper
- Confirm Your Recovery PhraseProve your paper copy is right
- Lock Your WalletFace ID or fingerprint, so only you get in
- Final CheckA quick check, and you're done
Easiest on a computer — keep this guide open there and follow along on your phone. On just your phone? That works too: switch between this page and the app, and your place is saved as you go.
Step 1 of 7 · Get the app
Download the THAT App
It's free on the App Store and Google Play.

THAT
THAT COIN PTY LTD · Free
Once it's installed, open THAT.
If it asks to send you notifications or use your location, that's up to you — neither is needed for your wallet.
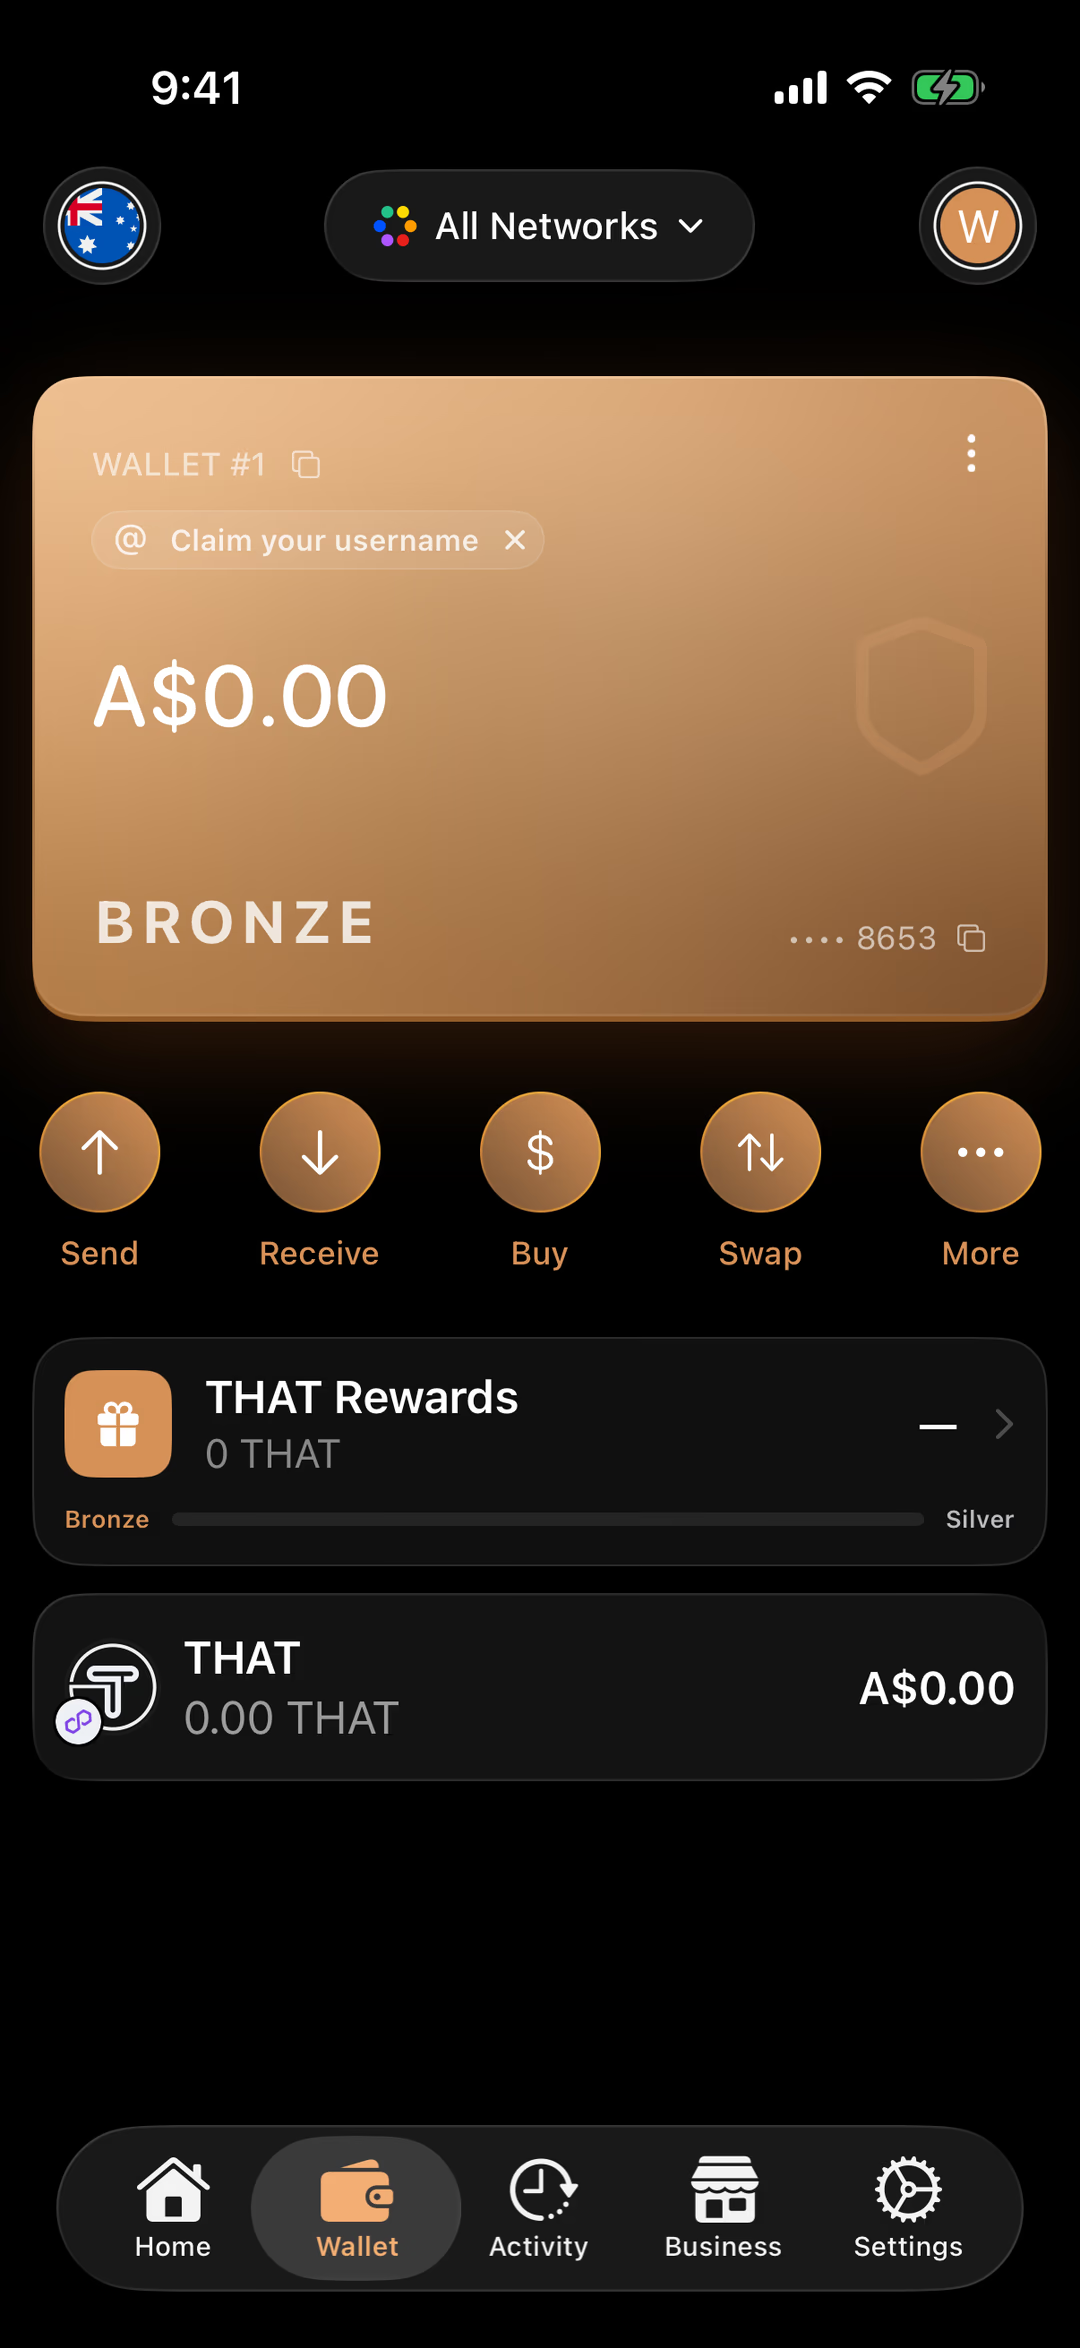
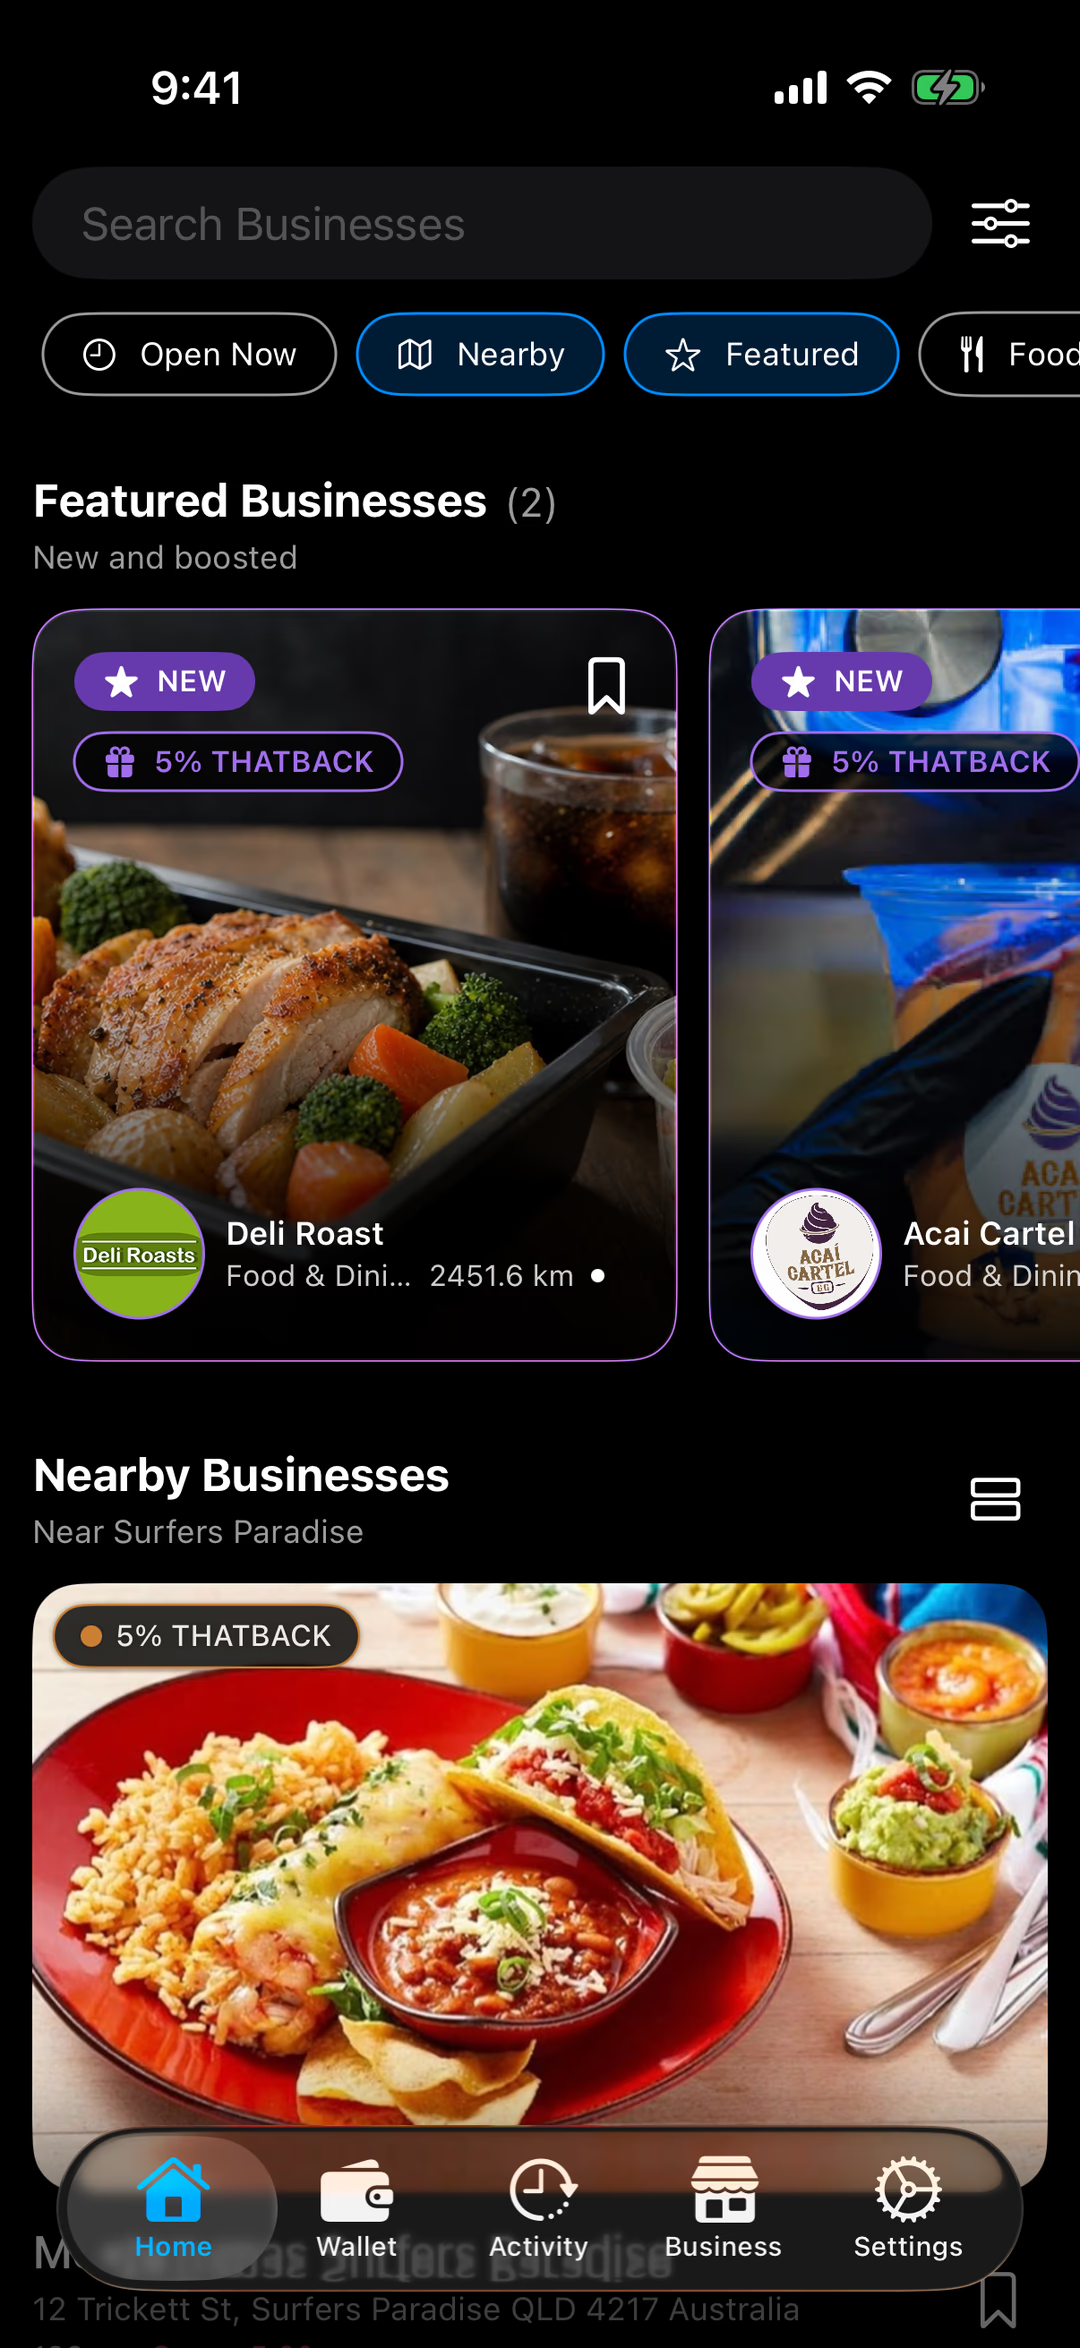
It opens on Home, a directory of places near you that accept THAT. Your wallet lives in the Wallet tab — you'll get to it in step 3.
Step 2 of 7 · Get ready
Before You Create Your Wallet
Two minutes now protects everything you'll ever keep in this wallet.
In a moment, THAT will show you 24 words — your recovery phrase (you may also hear it called a seed phrase). They're the master key to your wallet: anyone who has them can take everything in it, from anywhere. And they're the only way to get your wallet back if your phone is lost, stolen or replaced.
The rules for your recovery phrase
- Don't:Never screenshot or photograph it. Photos sync to iCloud and Google Photos automatically — out of your control.
- Don't:Never type it anywhere — not in Notes, an email, a message, a password manager or any website.
- Don't:Never share it with anyone. THAT will never ask for it, and nor will anyone genuine. Anyone who asks is trying to steal your crypto.
- Do:Write it on paper, in order, and check the spelling of every word.
- Do:Keep it somewhere safe and private. A second copy in another safe place protects you against loss, fire or water.
Step 3 of 7 · Create
Create Your Wallet
A few taps in the THAT app.
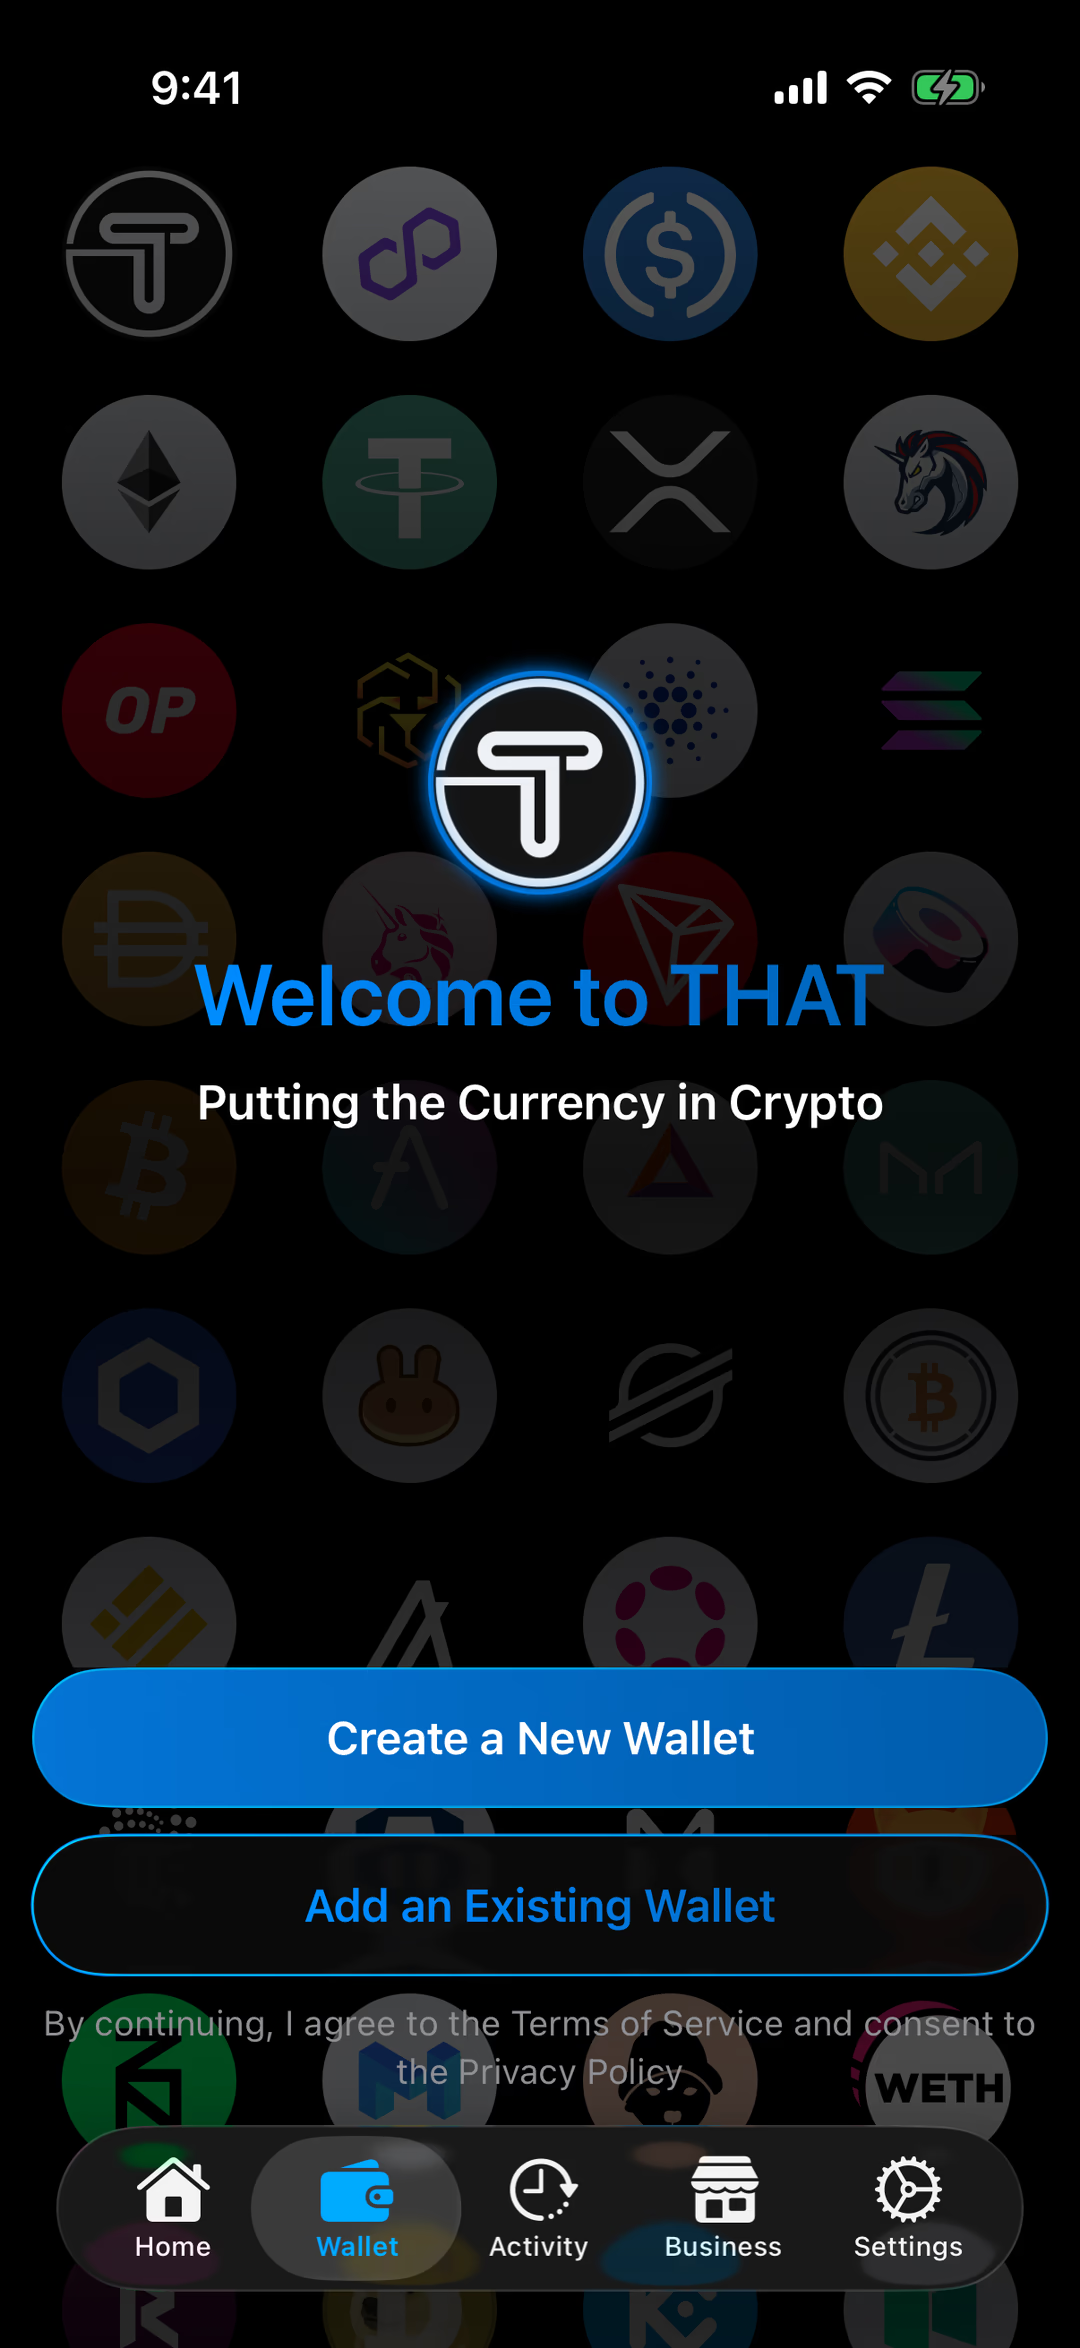
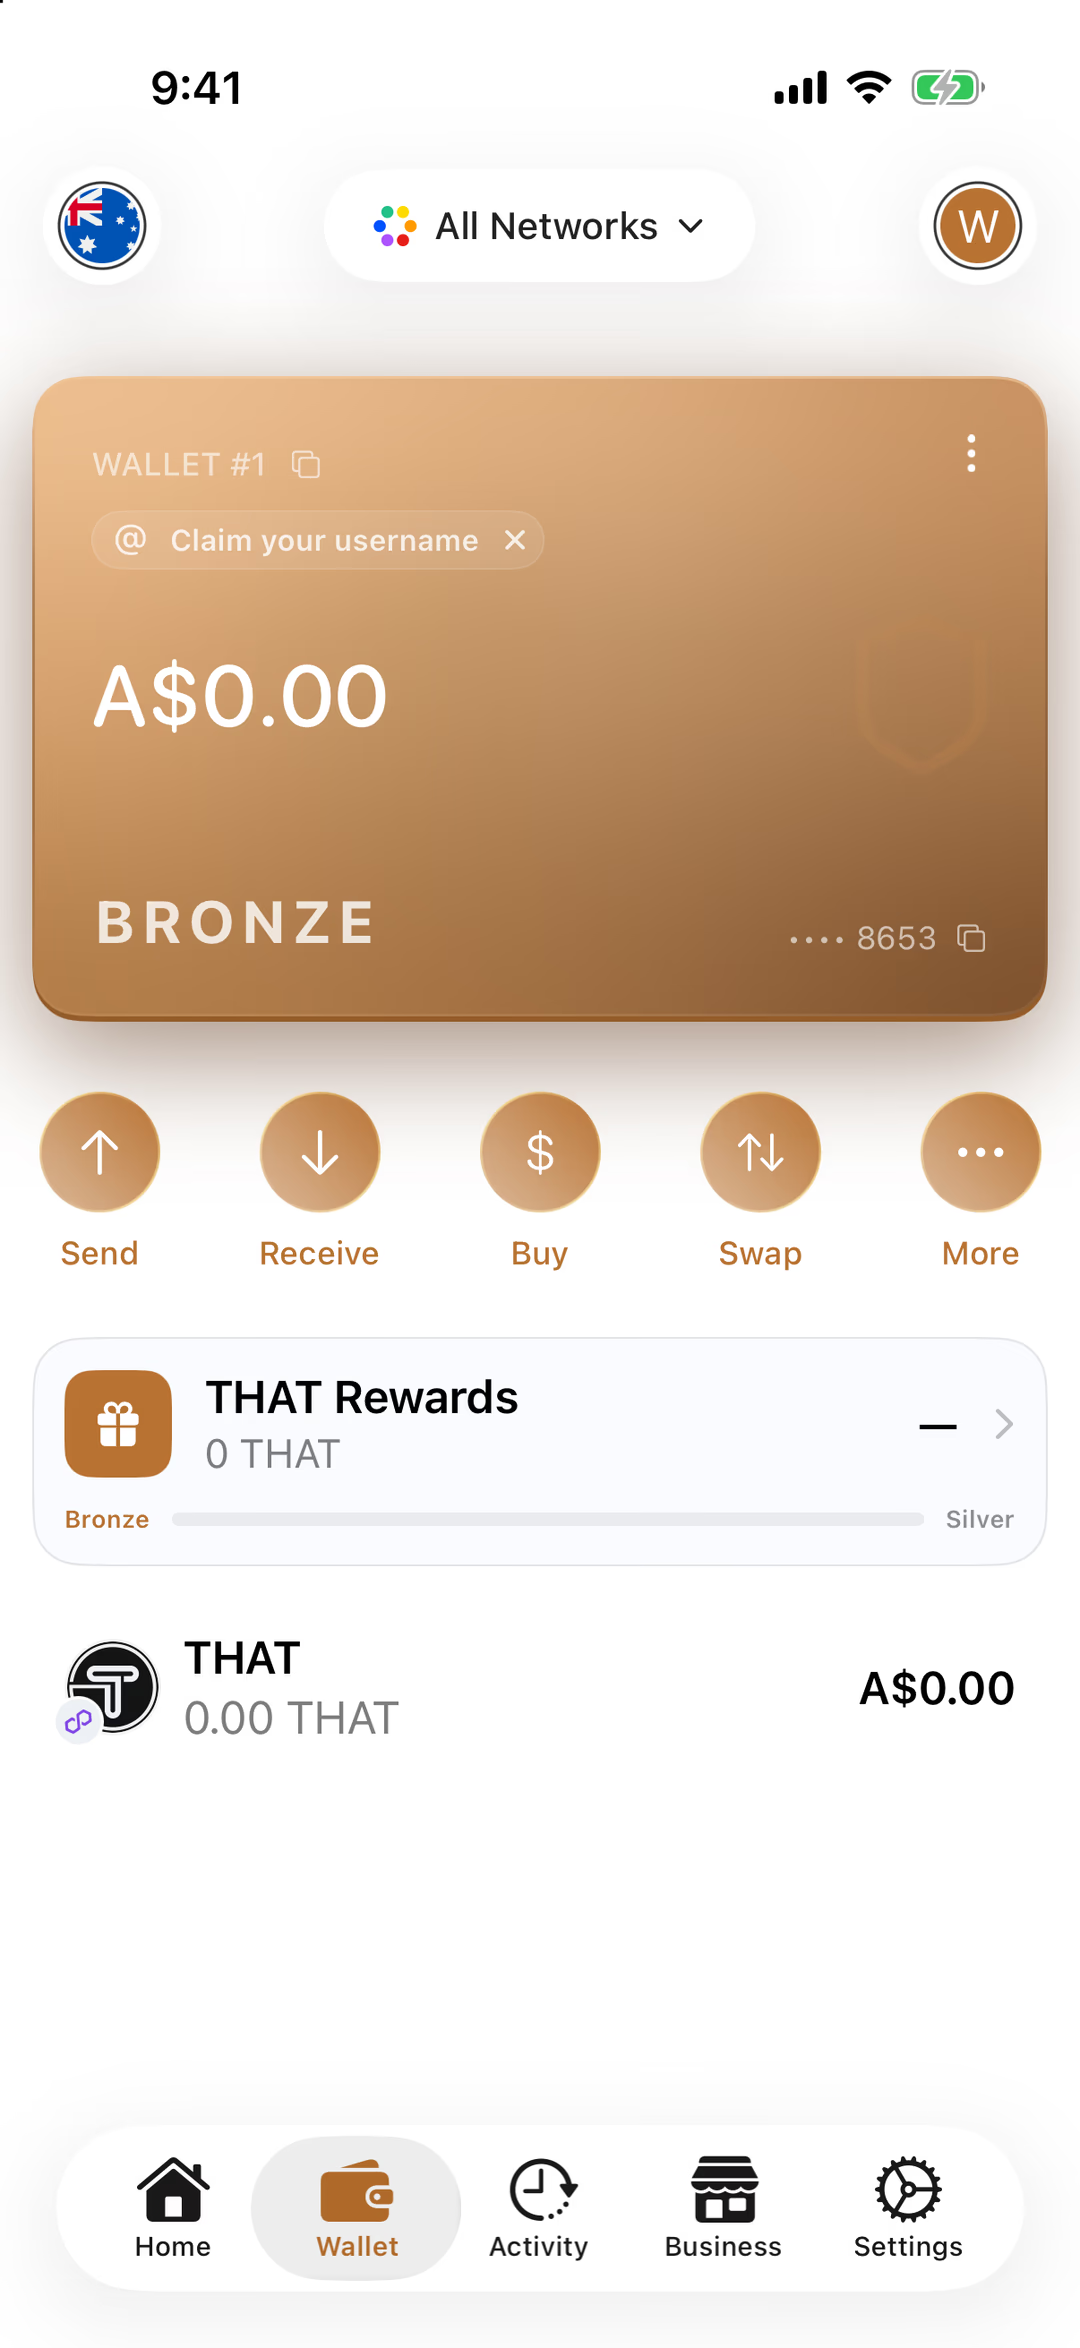
In the THAT app, tap Wallet at the bottom of the screen.
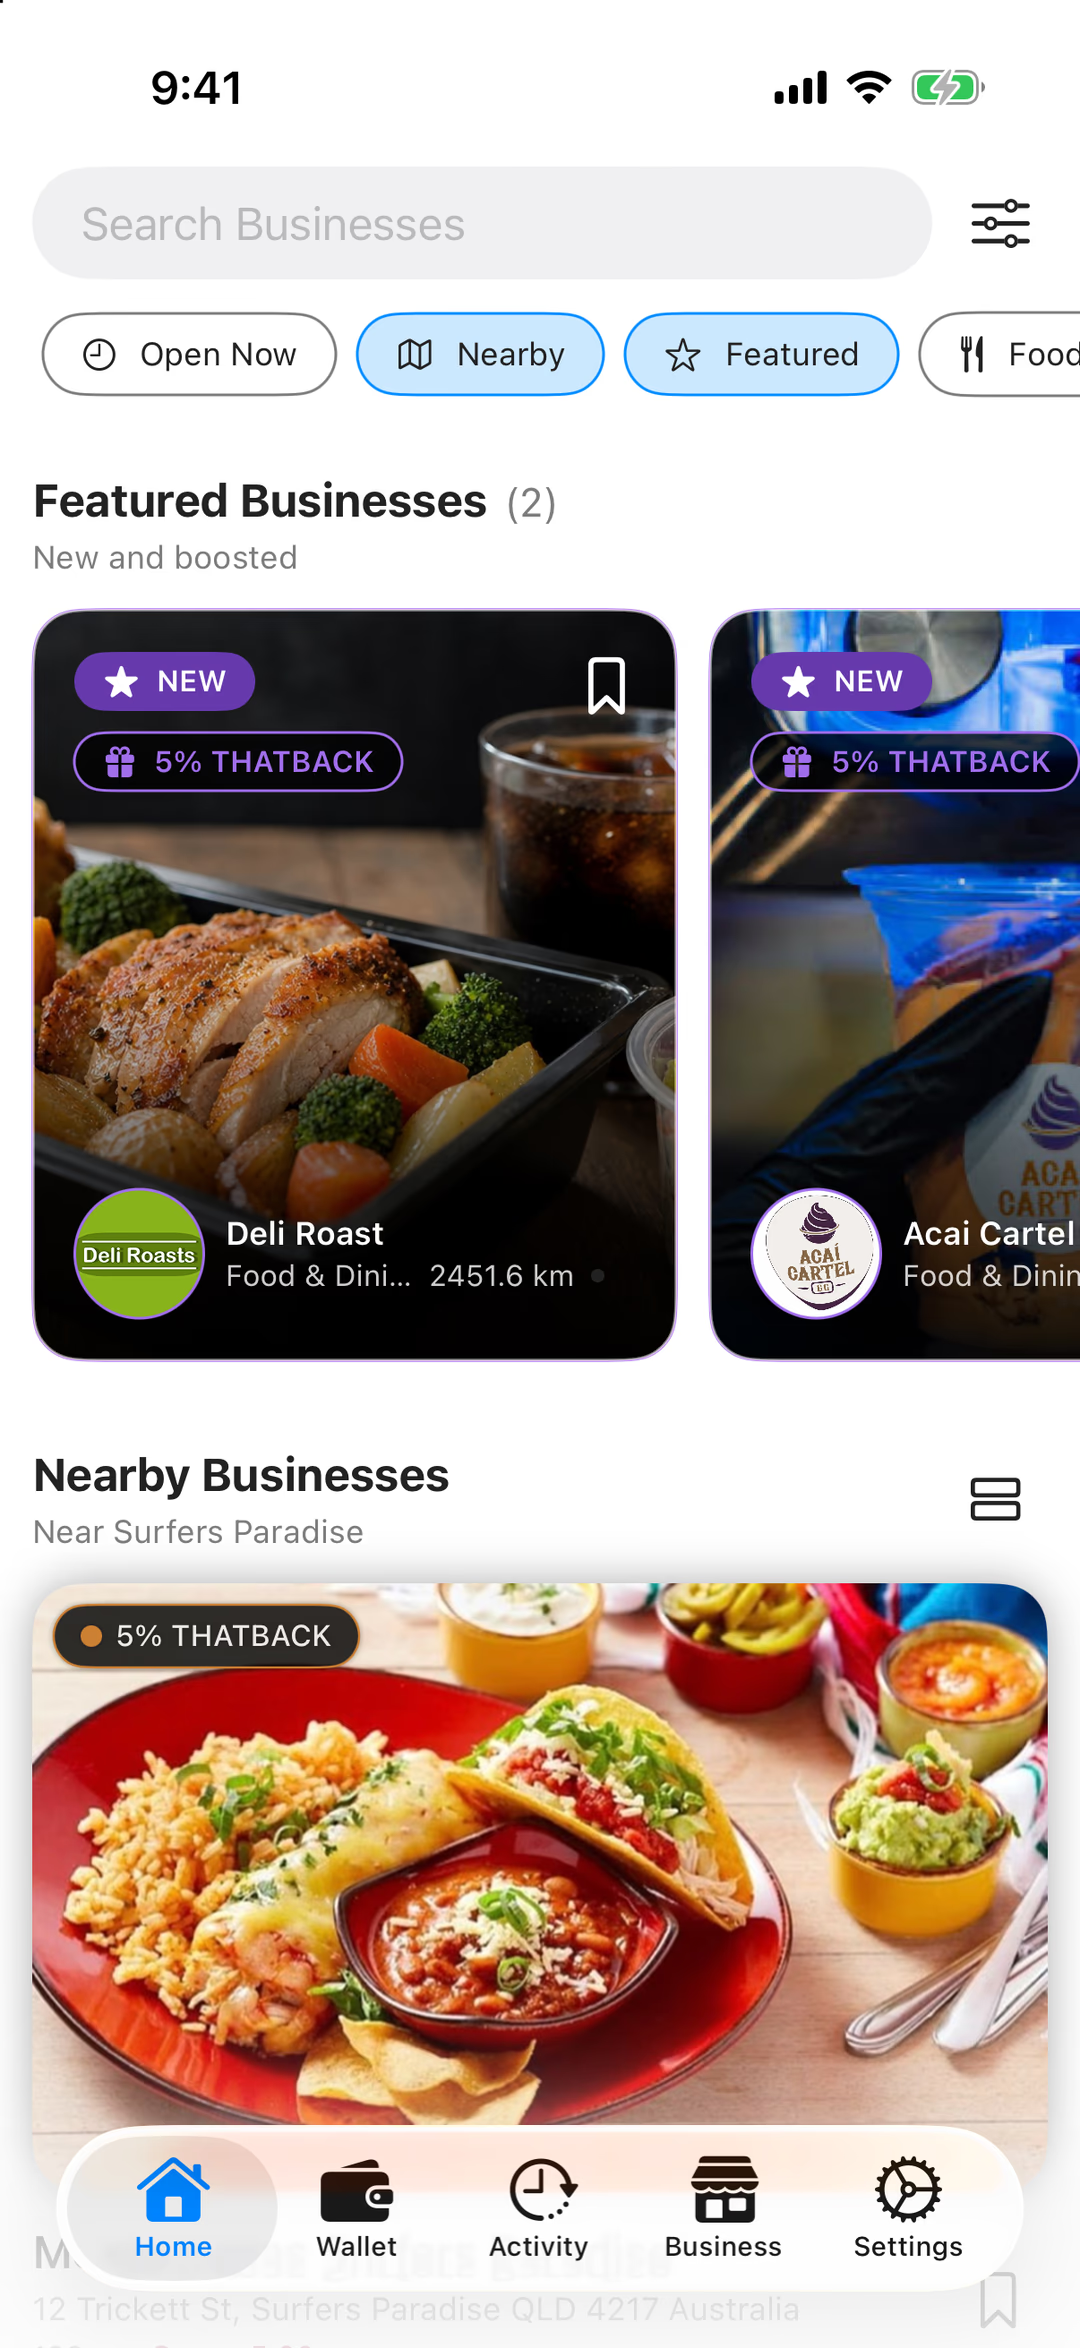
Tap Wallet. Tap Create a New Wallet.
Add an Existing Wallet is only for restoring a wallet you already have.
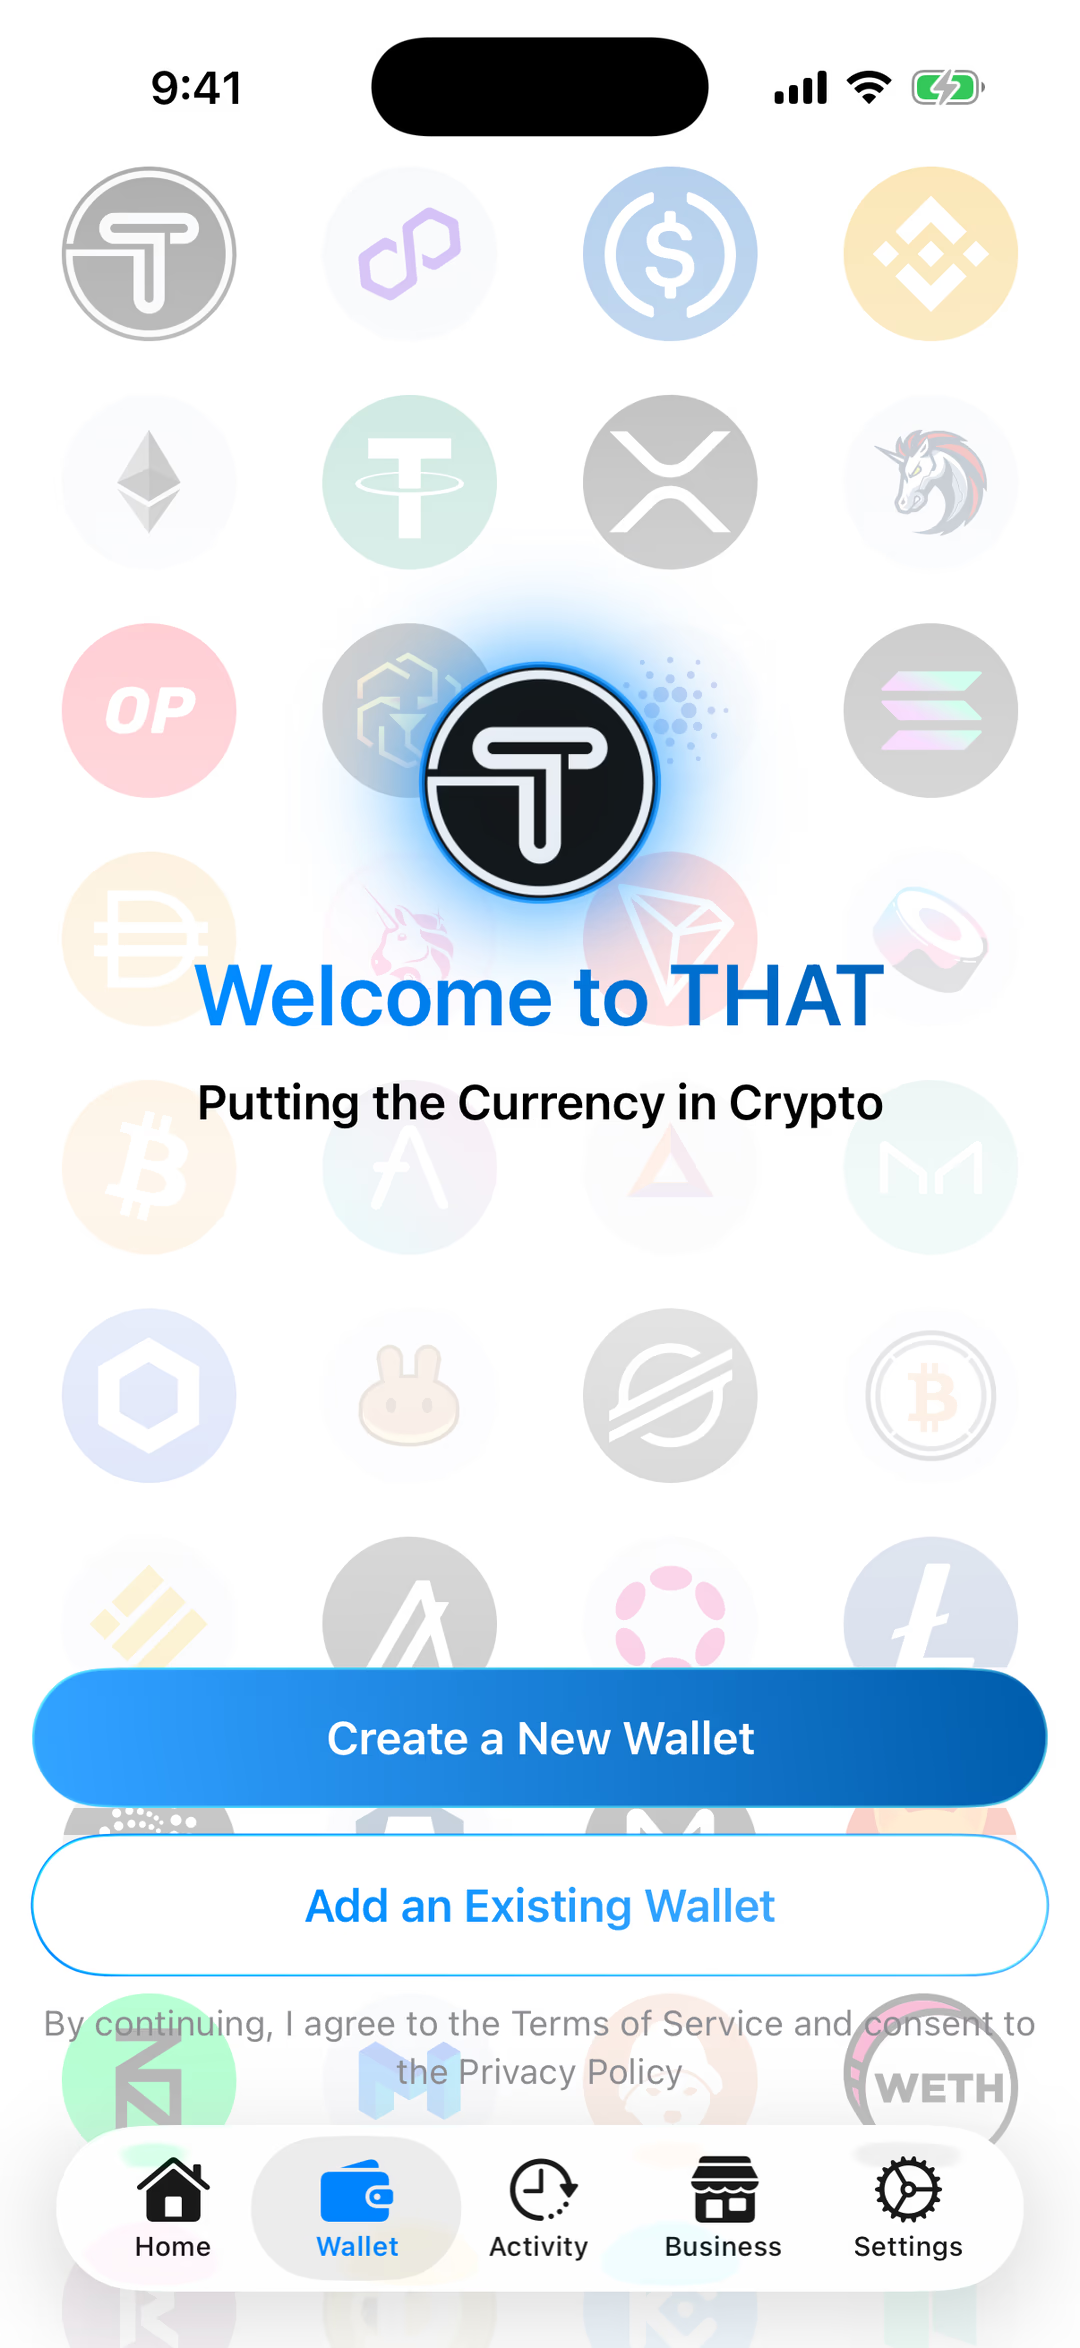
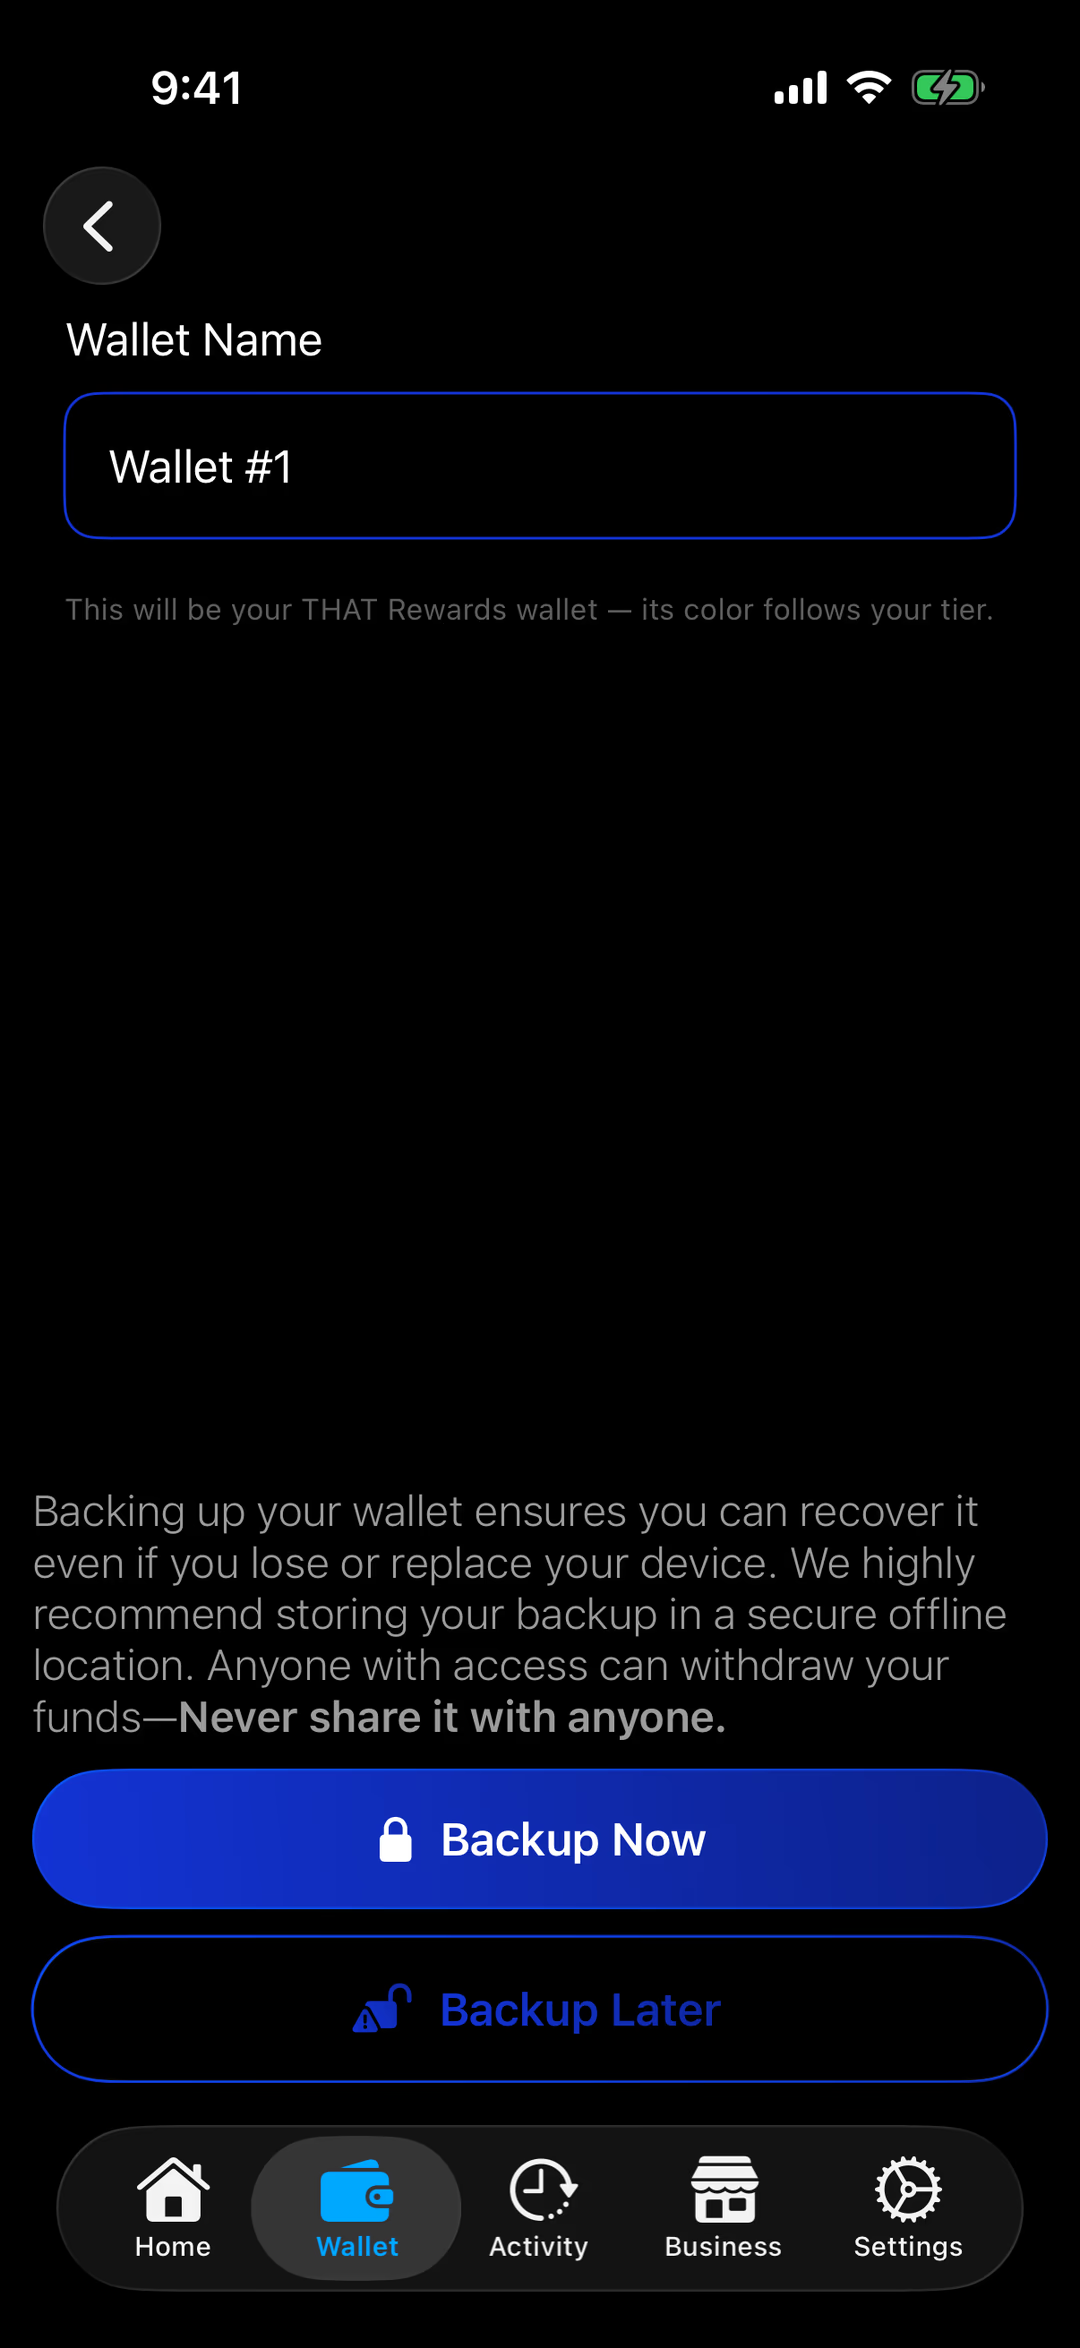
Tap Create a New Wallet. Keep the name Wallet #1 — or type your own — then tap Backup Now.
Don't tap Backup Later
It creates your wallet without a backup — and the app won't remind you. If anything happened to your phone, your wallet and everything in it would be gone for good.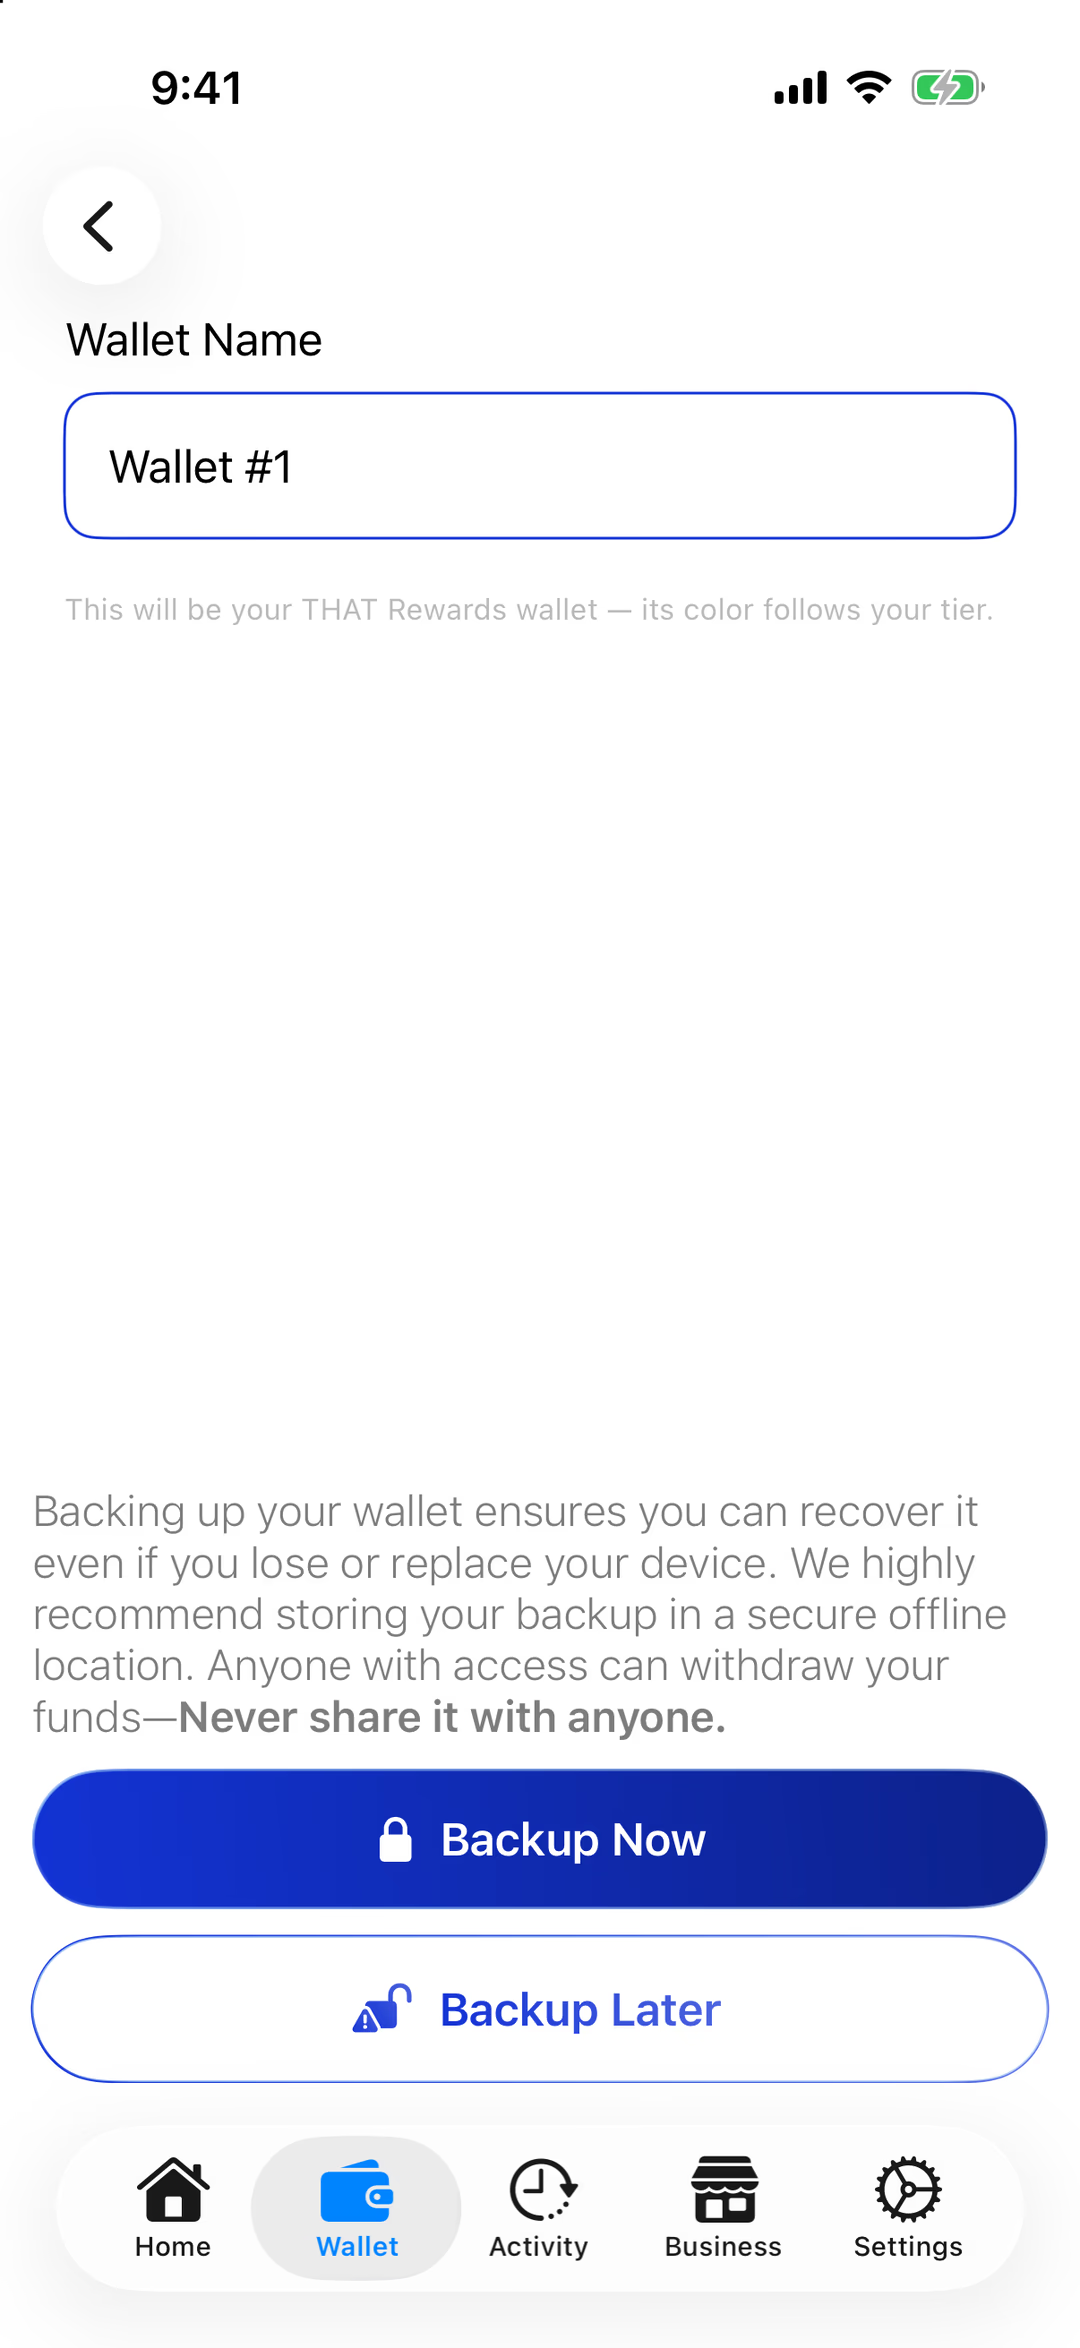
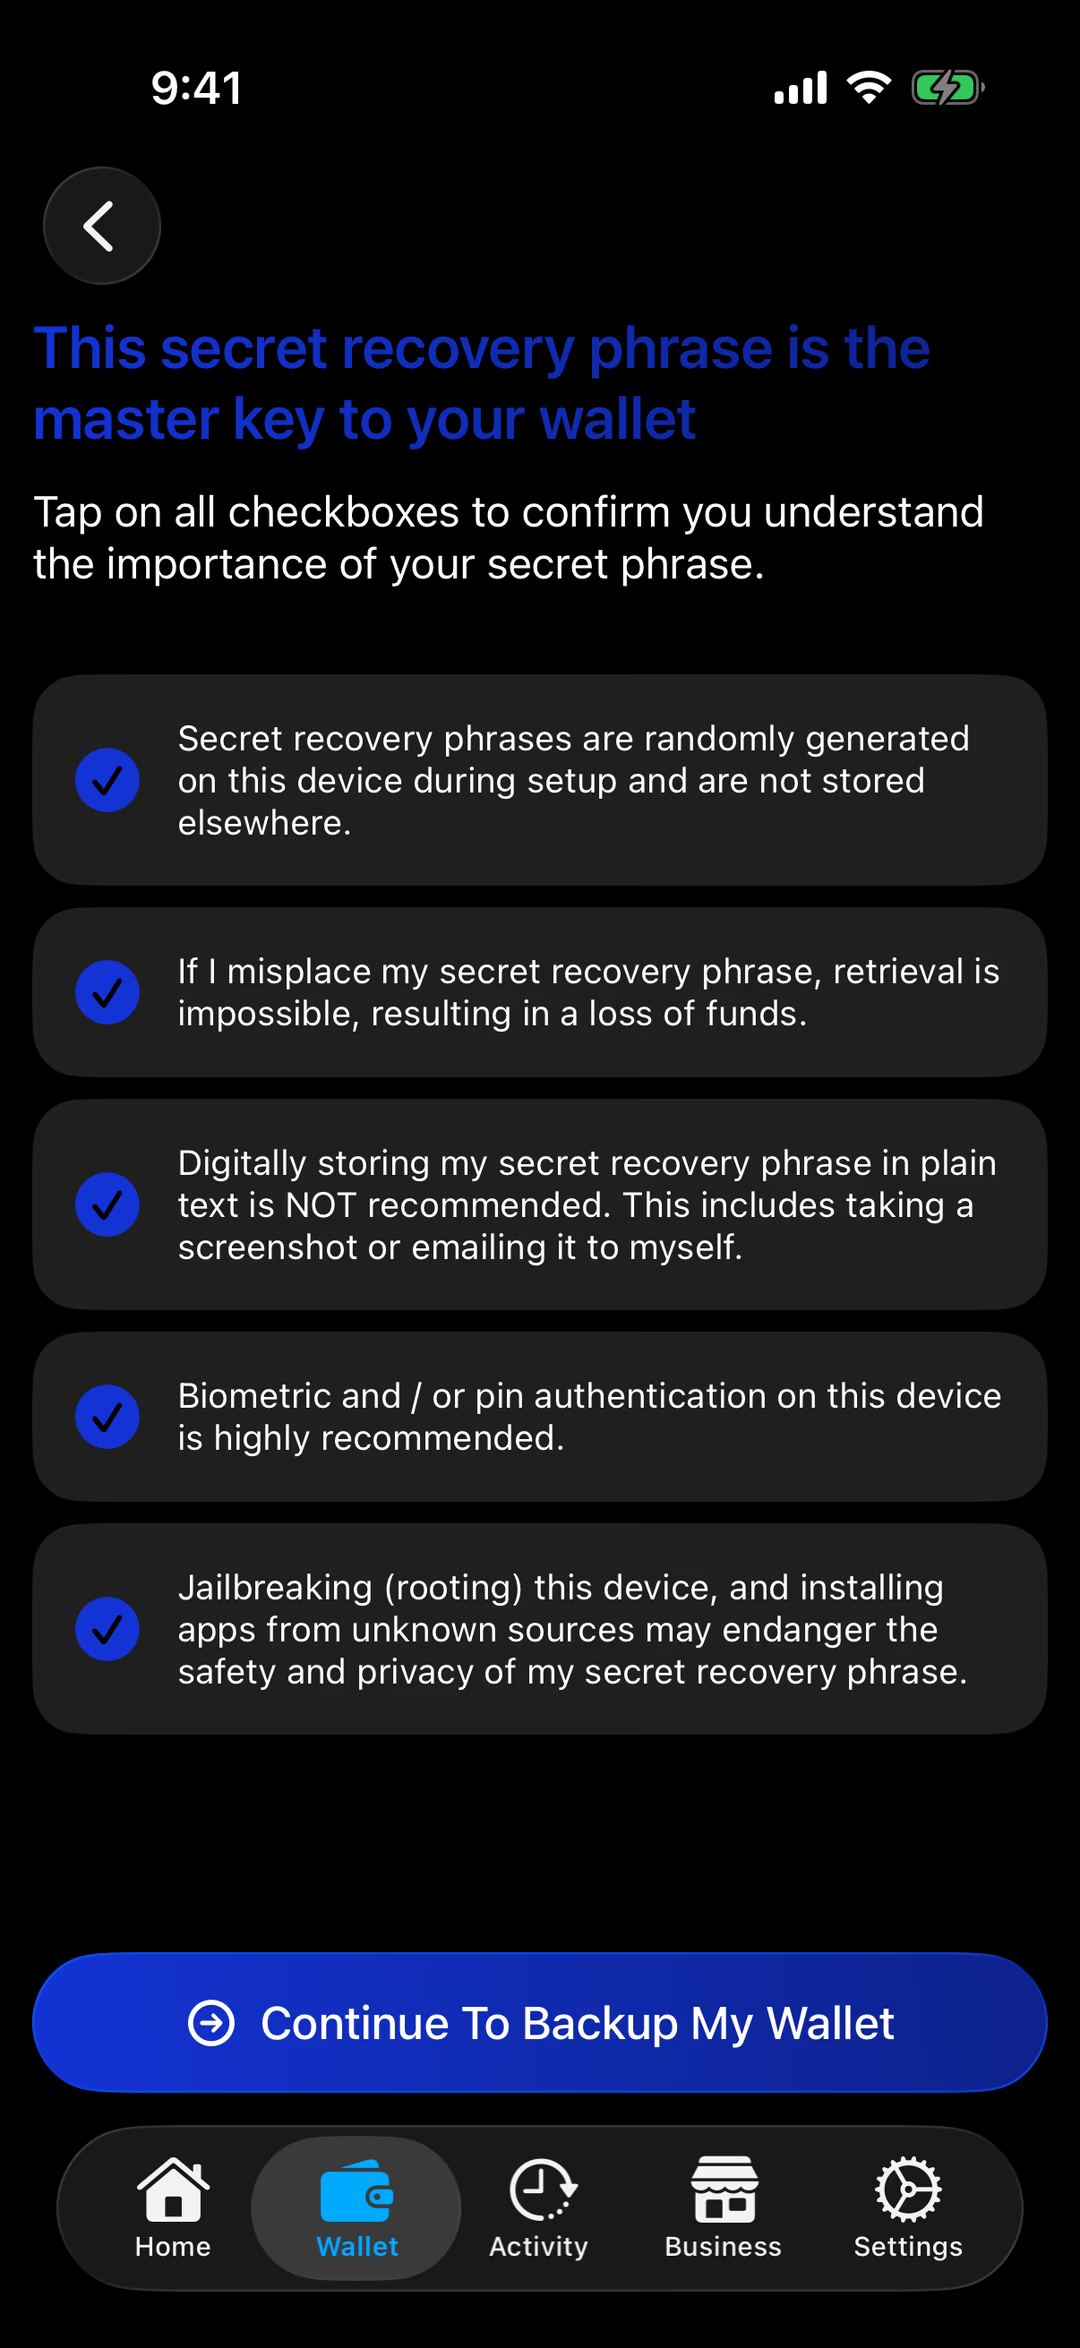
Tap Backup Now — not Backup Later. Tick all five boxes, then tap Continue To Backup My Wallet.
They say what you read in step 2: your phrase is made on this phone and stored nowhere else, it can't be recovered if lost, it shouldn't be stored digitally, and your phone should be locked with Face ID or a PIN.
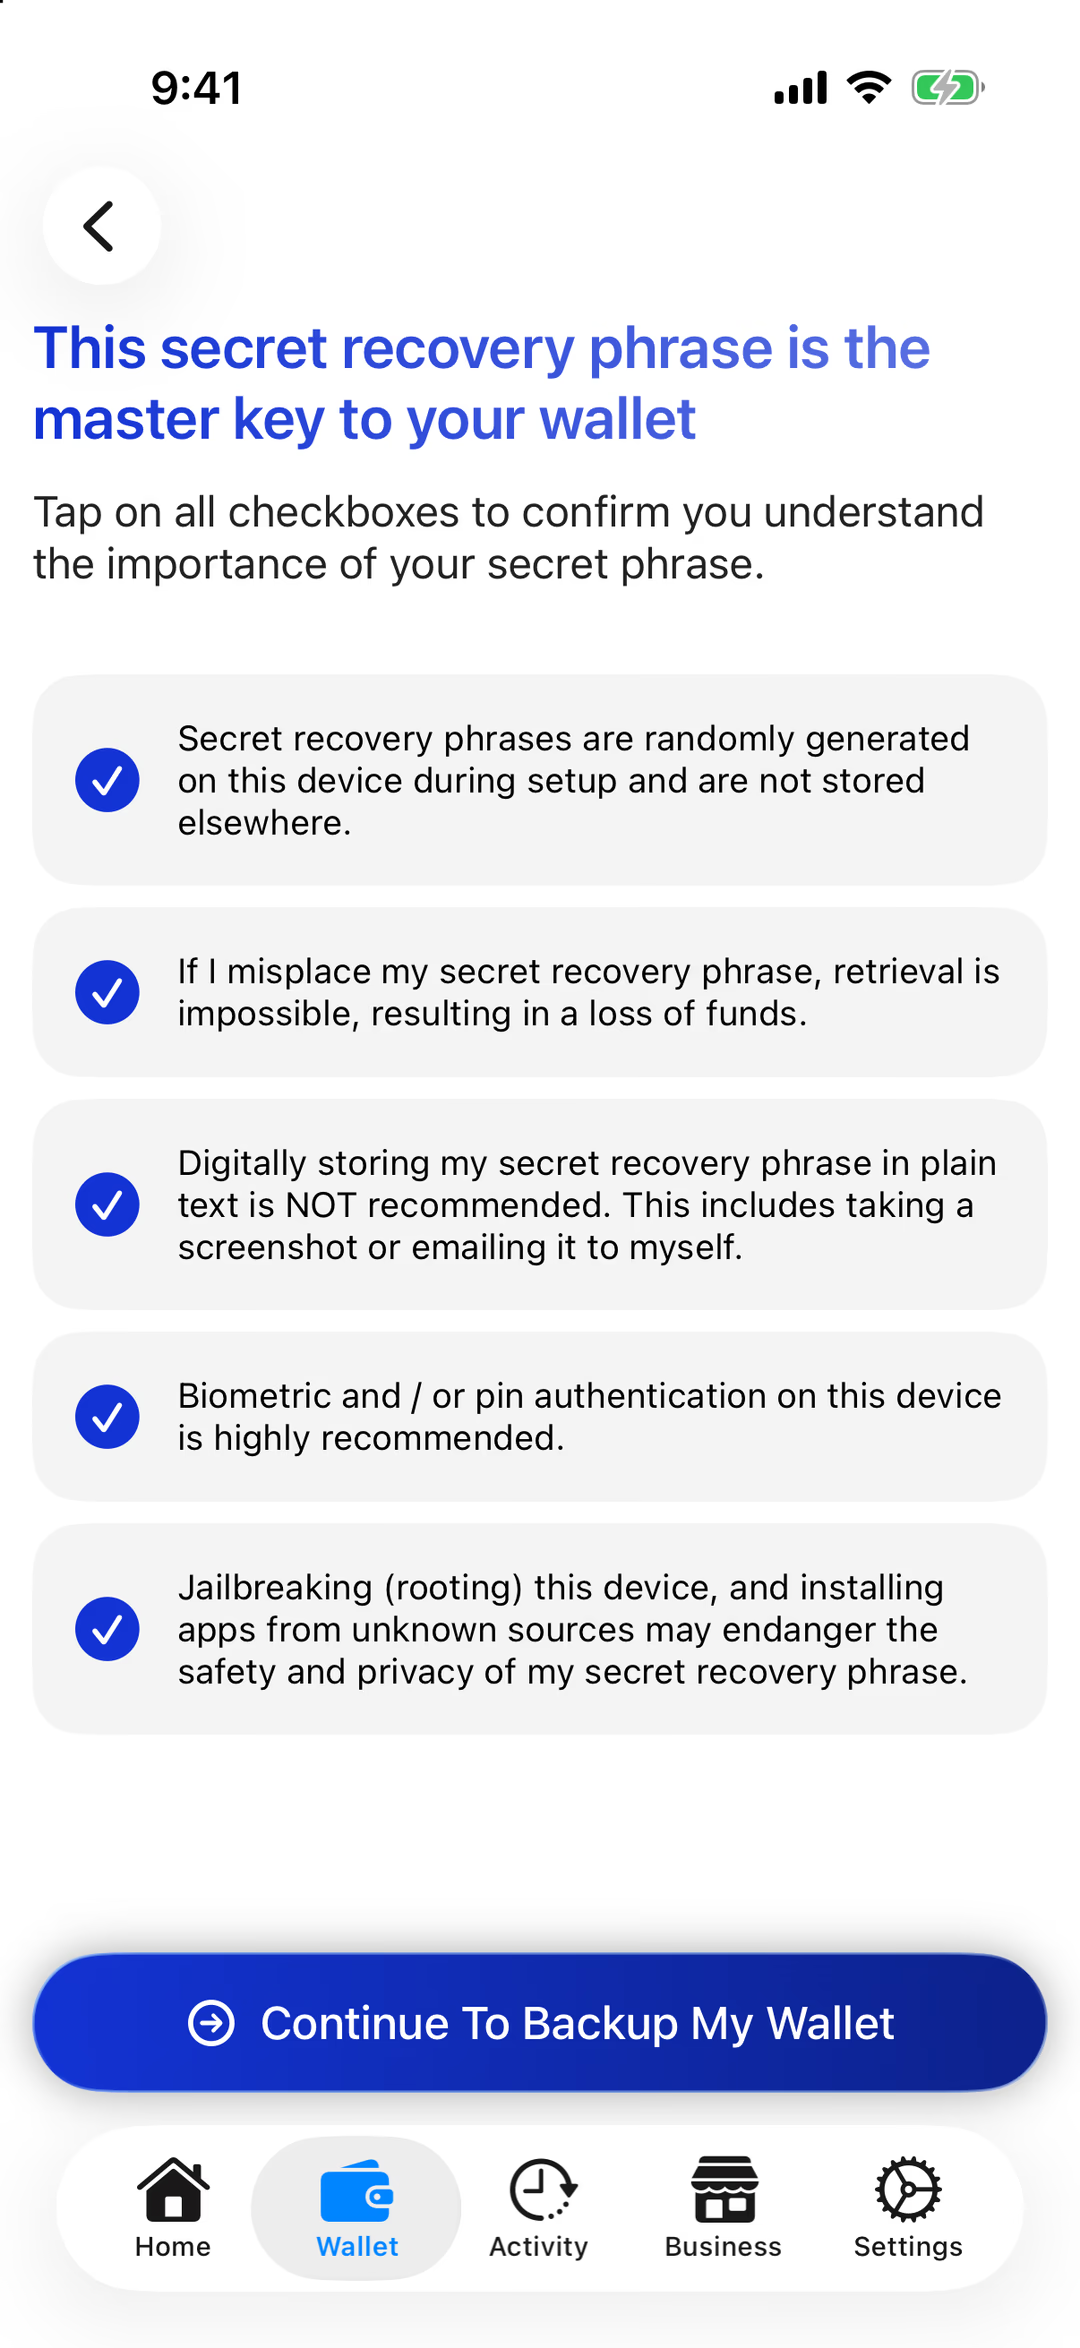
Tick all five, then continue.
Step 4 of 7 · Write it down
Write Down Your 24 Words
The most important few minutes of the whole setup.
No screenshots — not even for a second
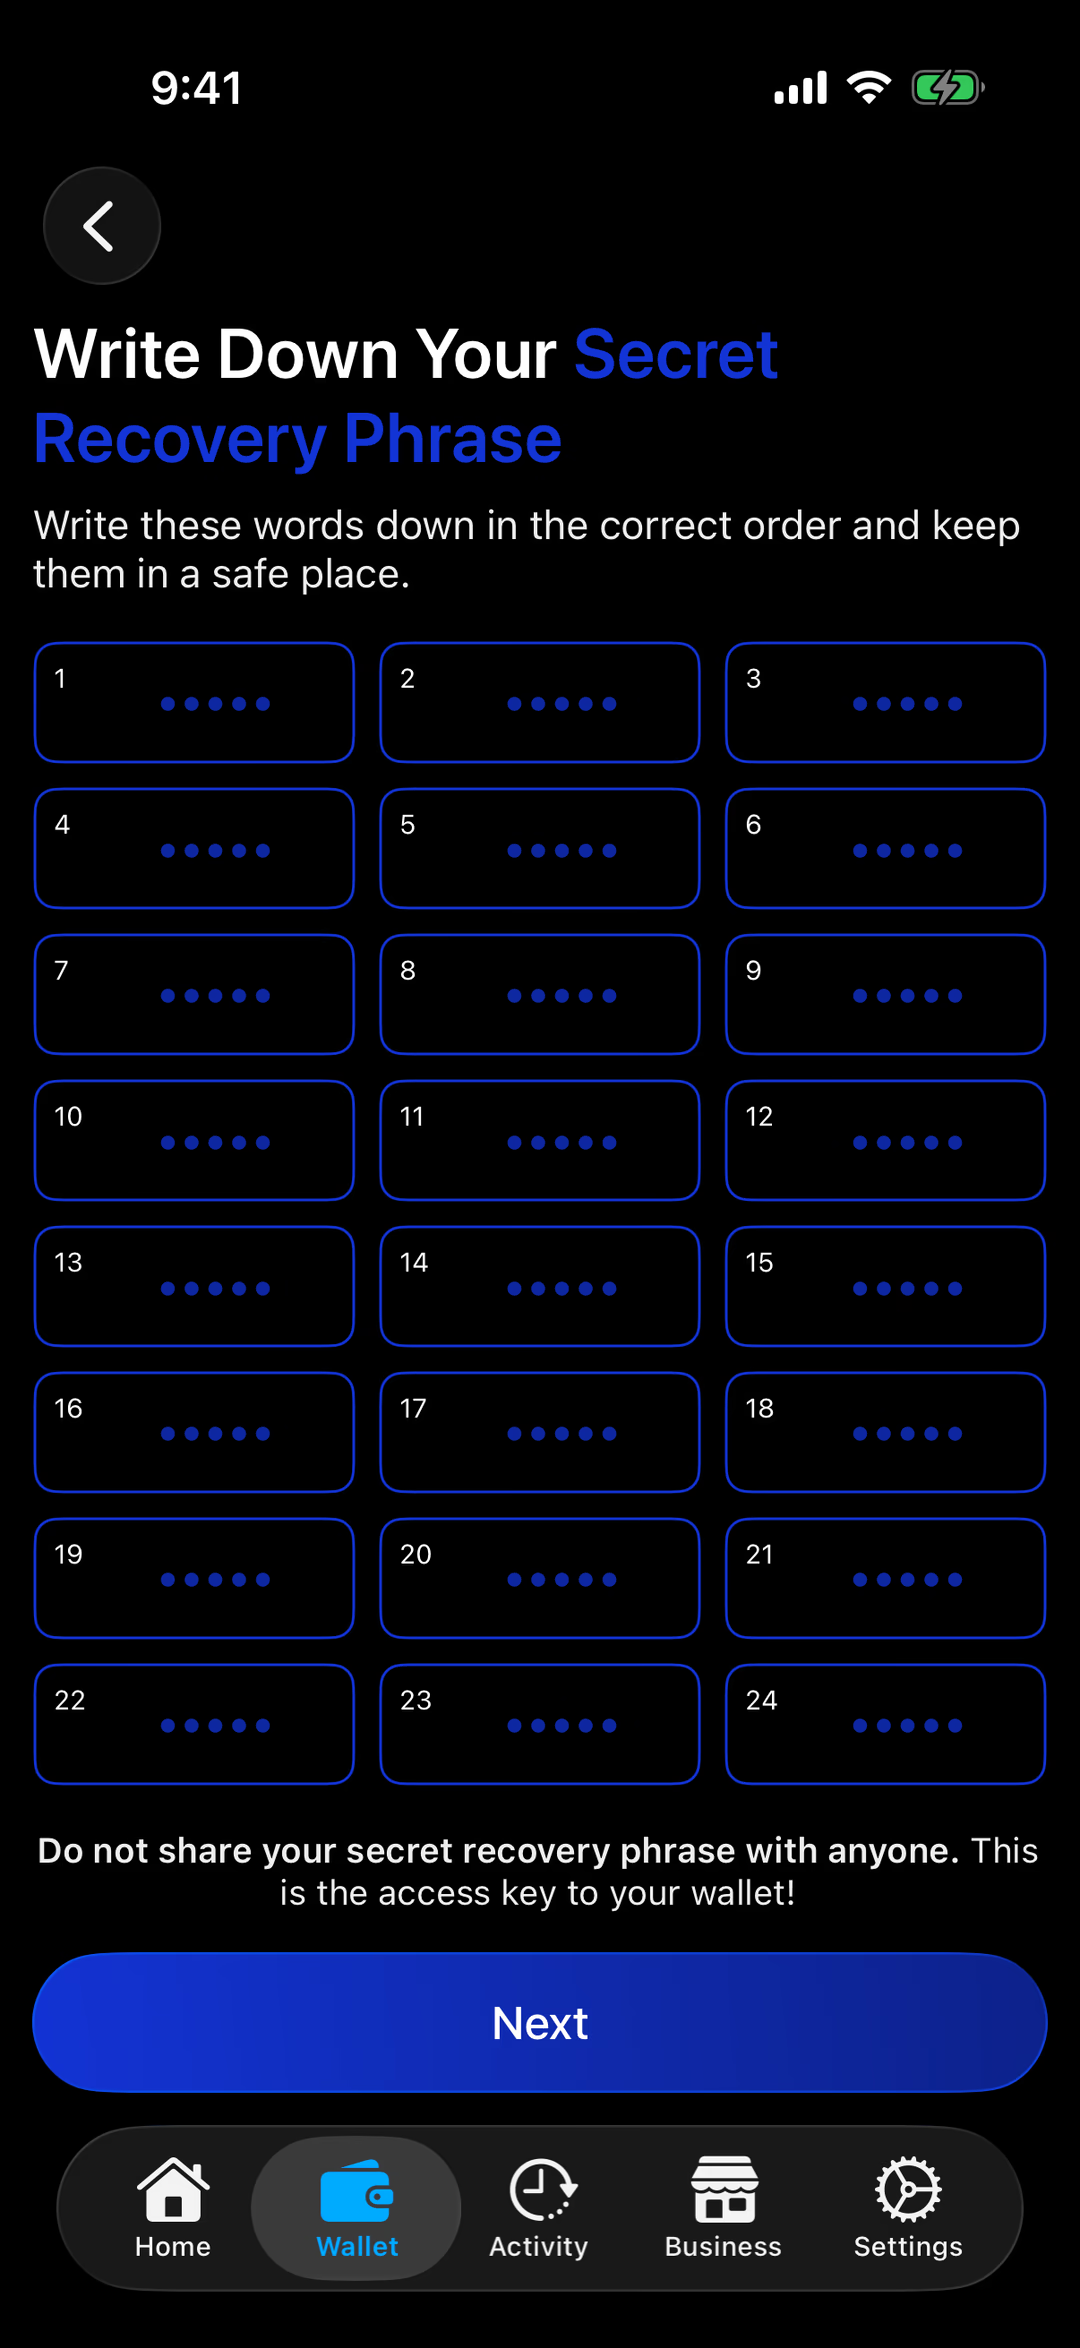
The app shows your 24 words, numbered 1 to 24.
Every wallet gets its own 24 words. Only yours matter — and no one else should ever see them.
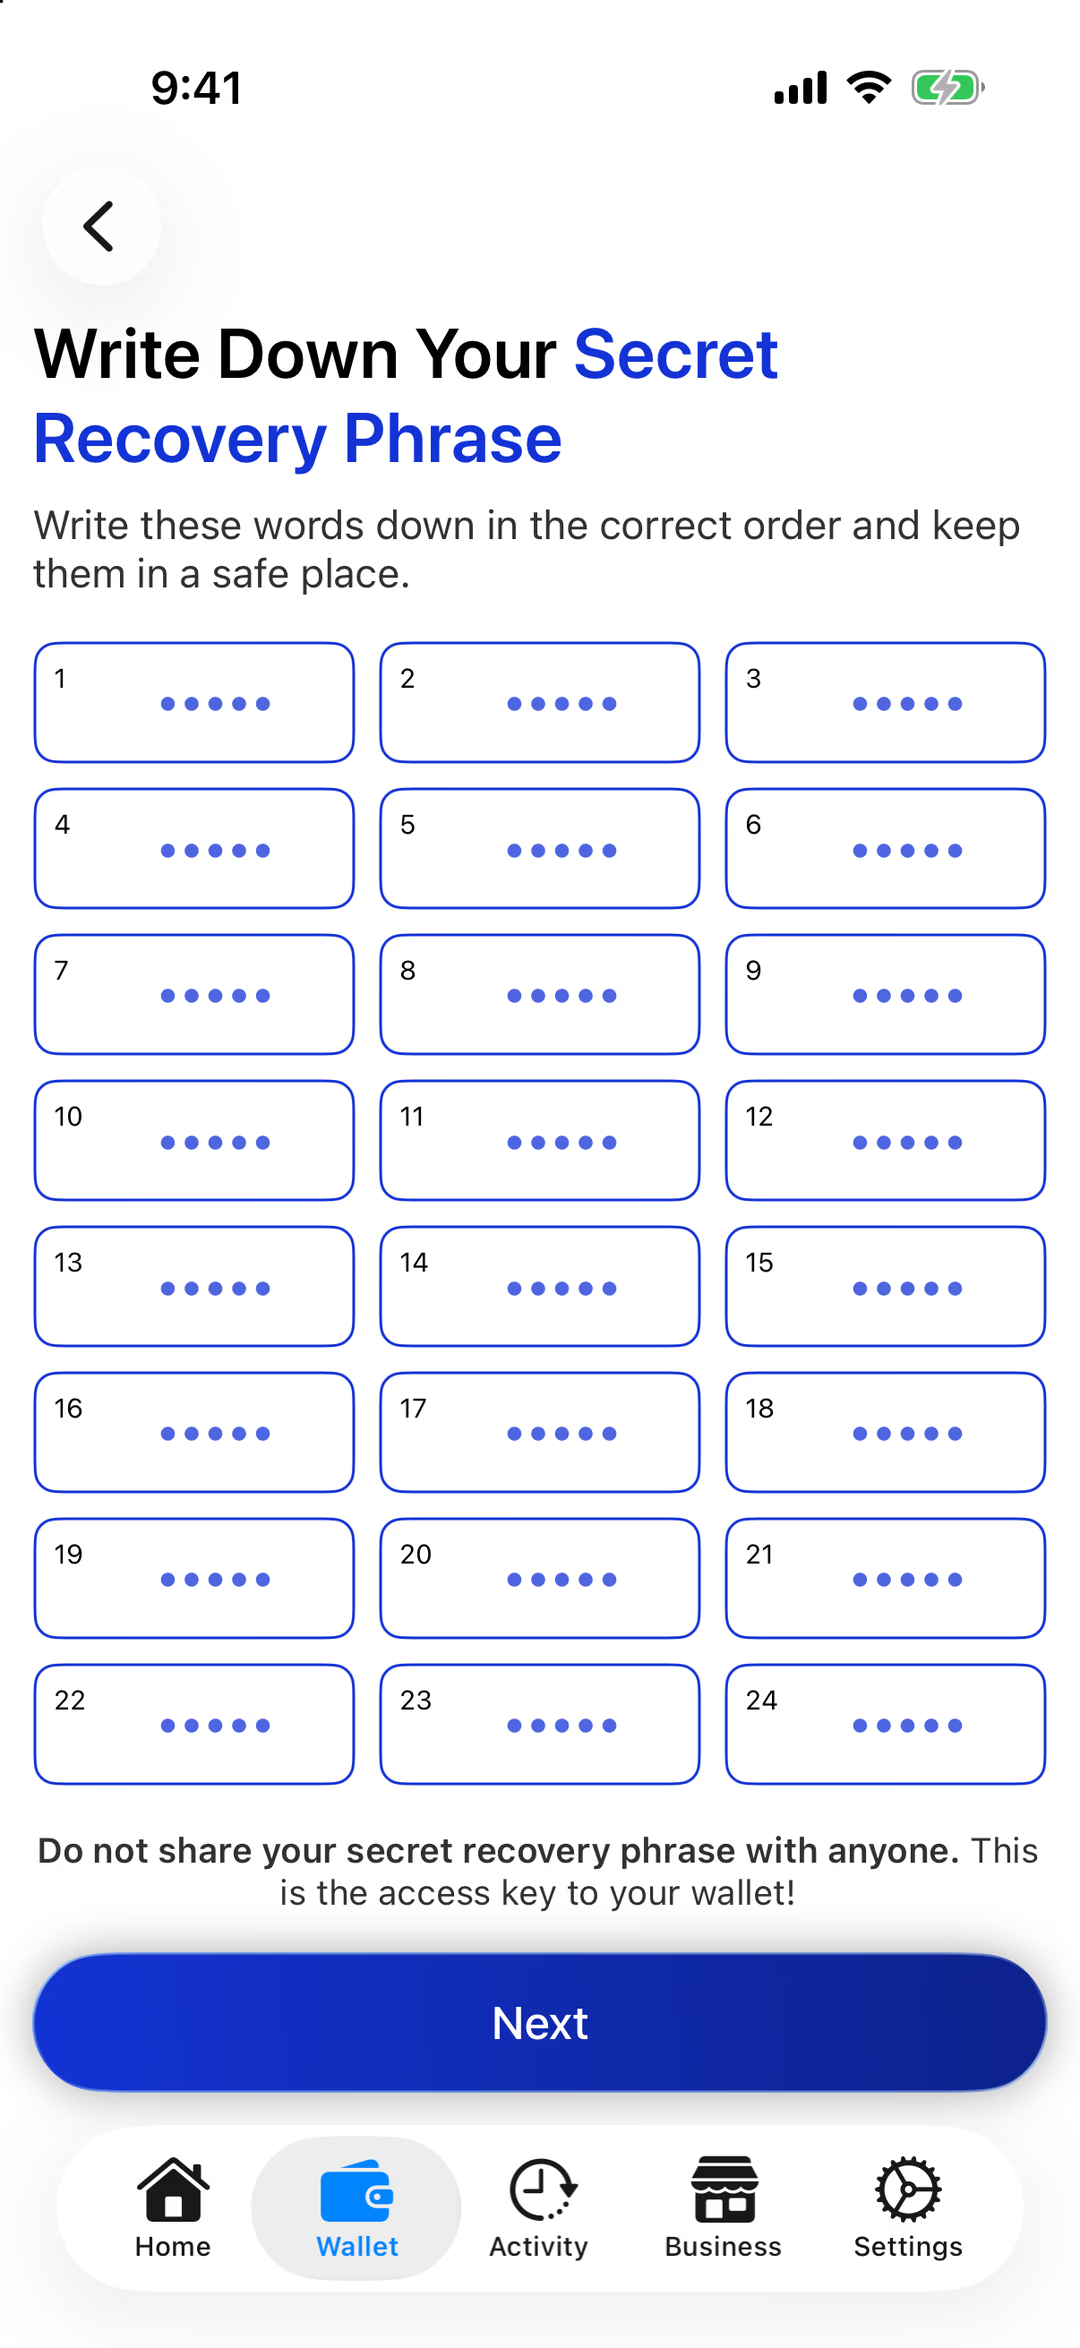
We've hidden the words here — your screen shows your own. Write each word on your paper in order, with its number.
Print clearly and check the spelling of every word — one wrong letter and the phrase won't work.
Read your paper back against the screen, word by word. When it all matches, tap Next.
Where to keep it
Step 5 of 7 · Confirm
Confirm Your Recovery Phrase
A quick check that your paper copy is right.
The app asks for four of your words by number — like Word #10. For each one, tap the word that matches your paper.
Then tap Verify Seed Phrase.
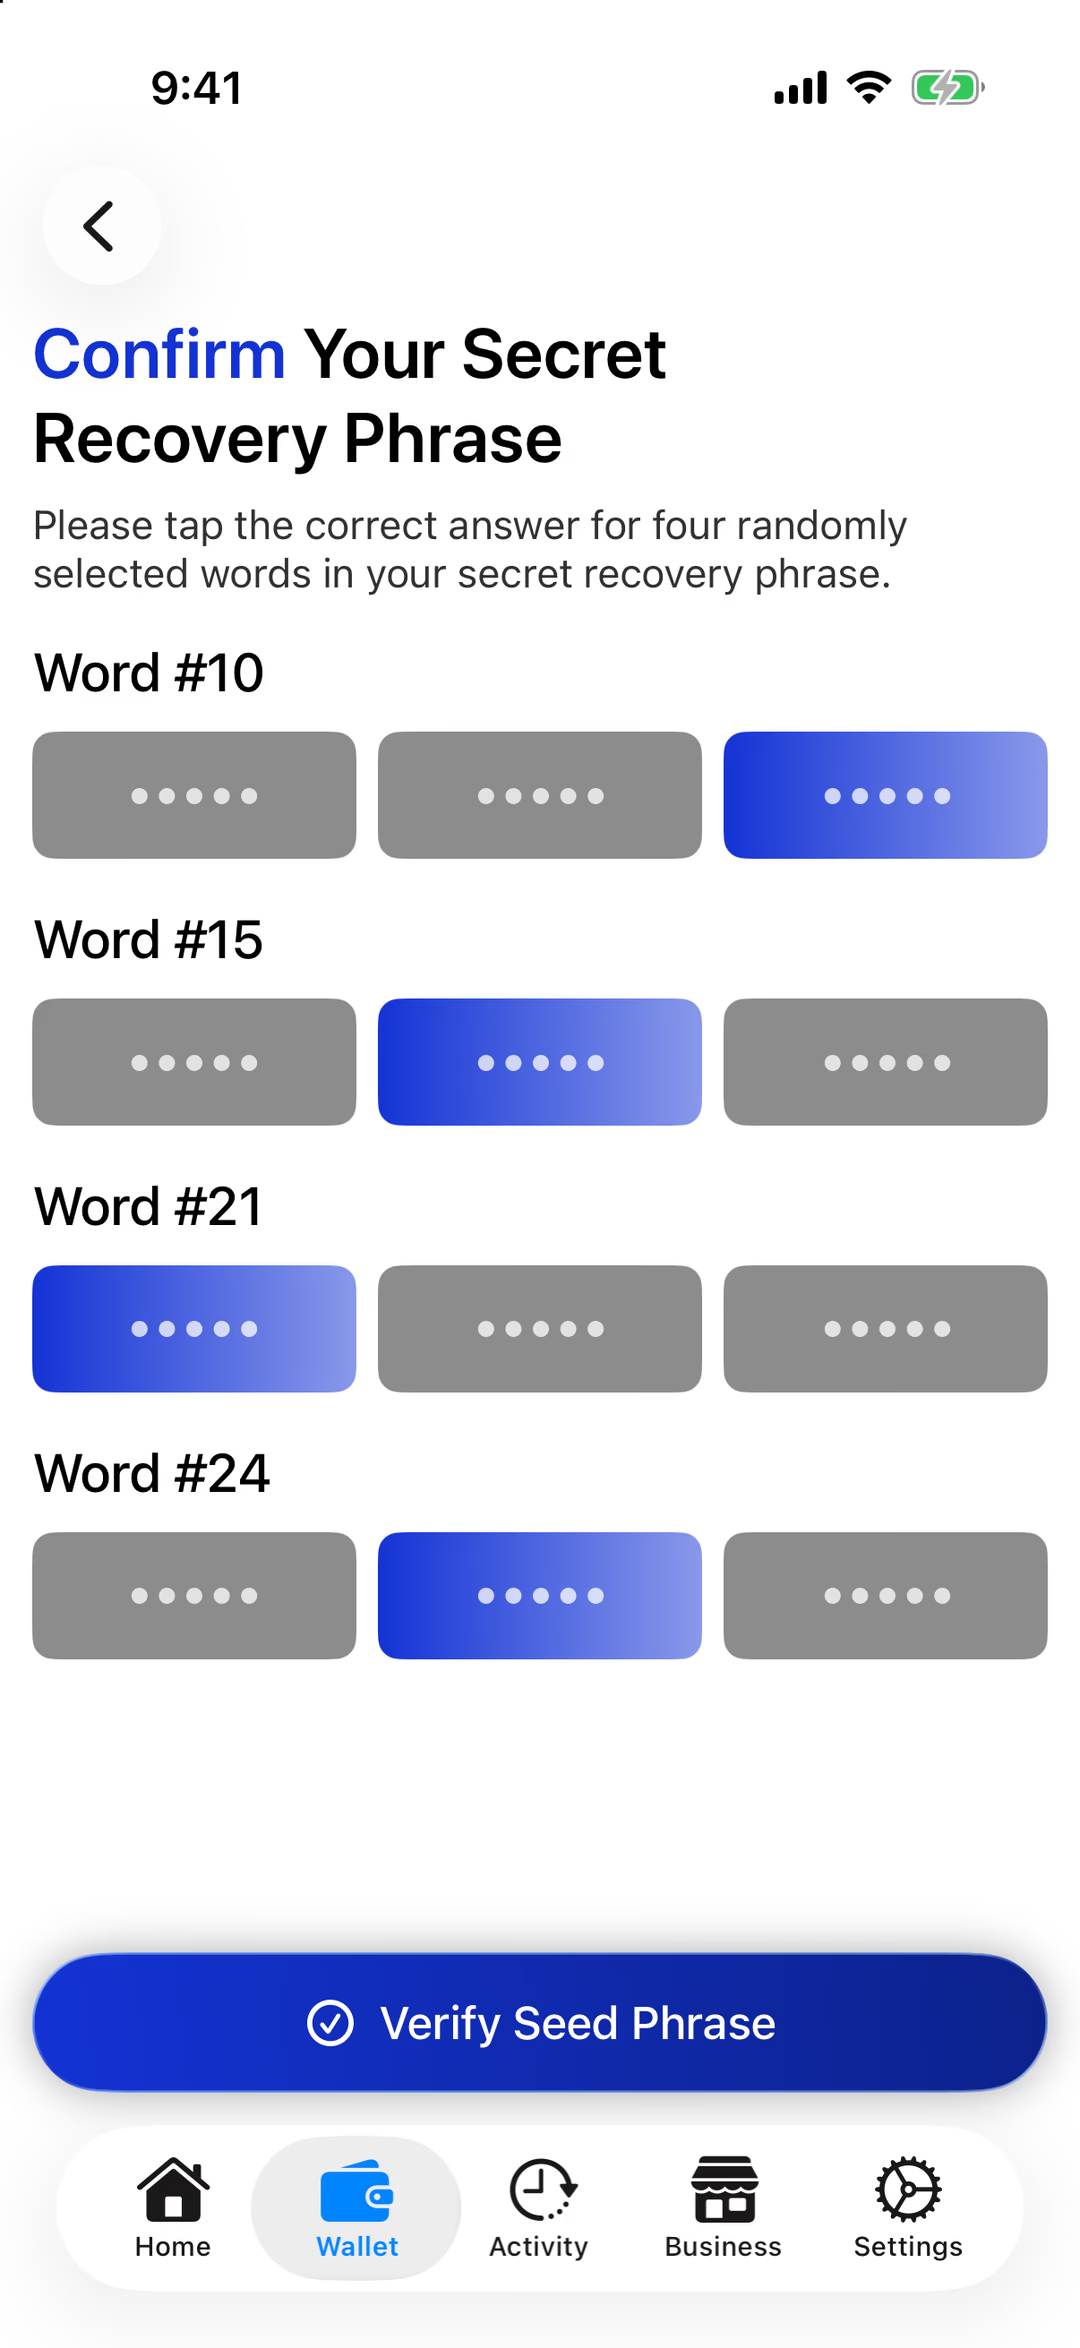
Pick the right word for each number, then verify. When the tick appears, tap Done.
That's it: your wallet now exists, and the words on your paper can always restore it.
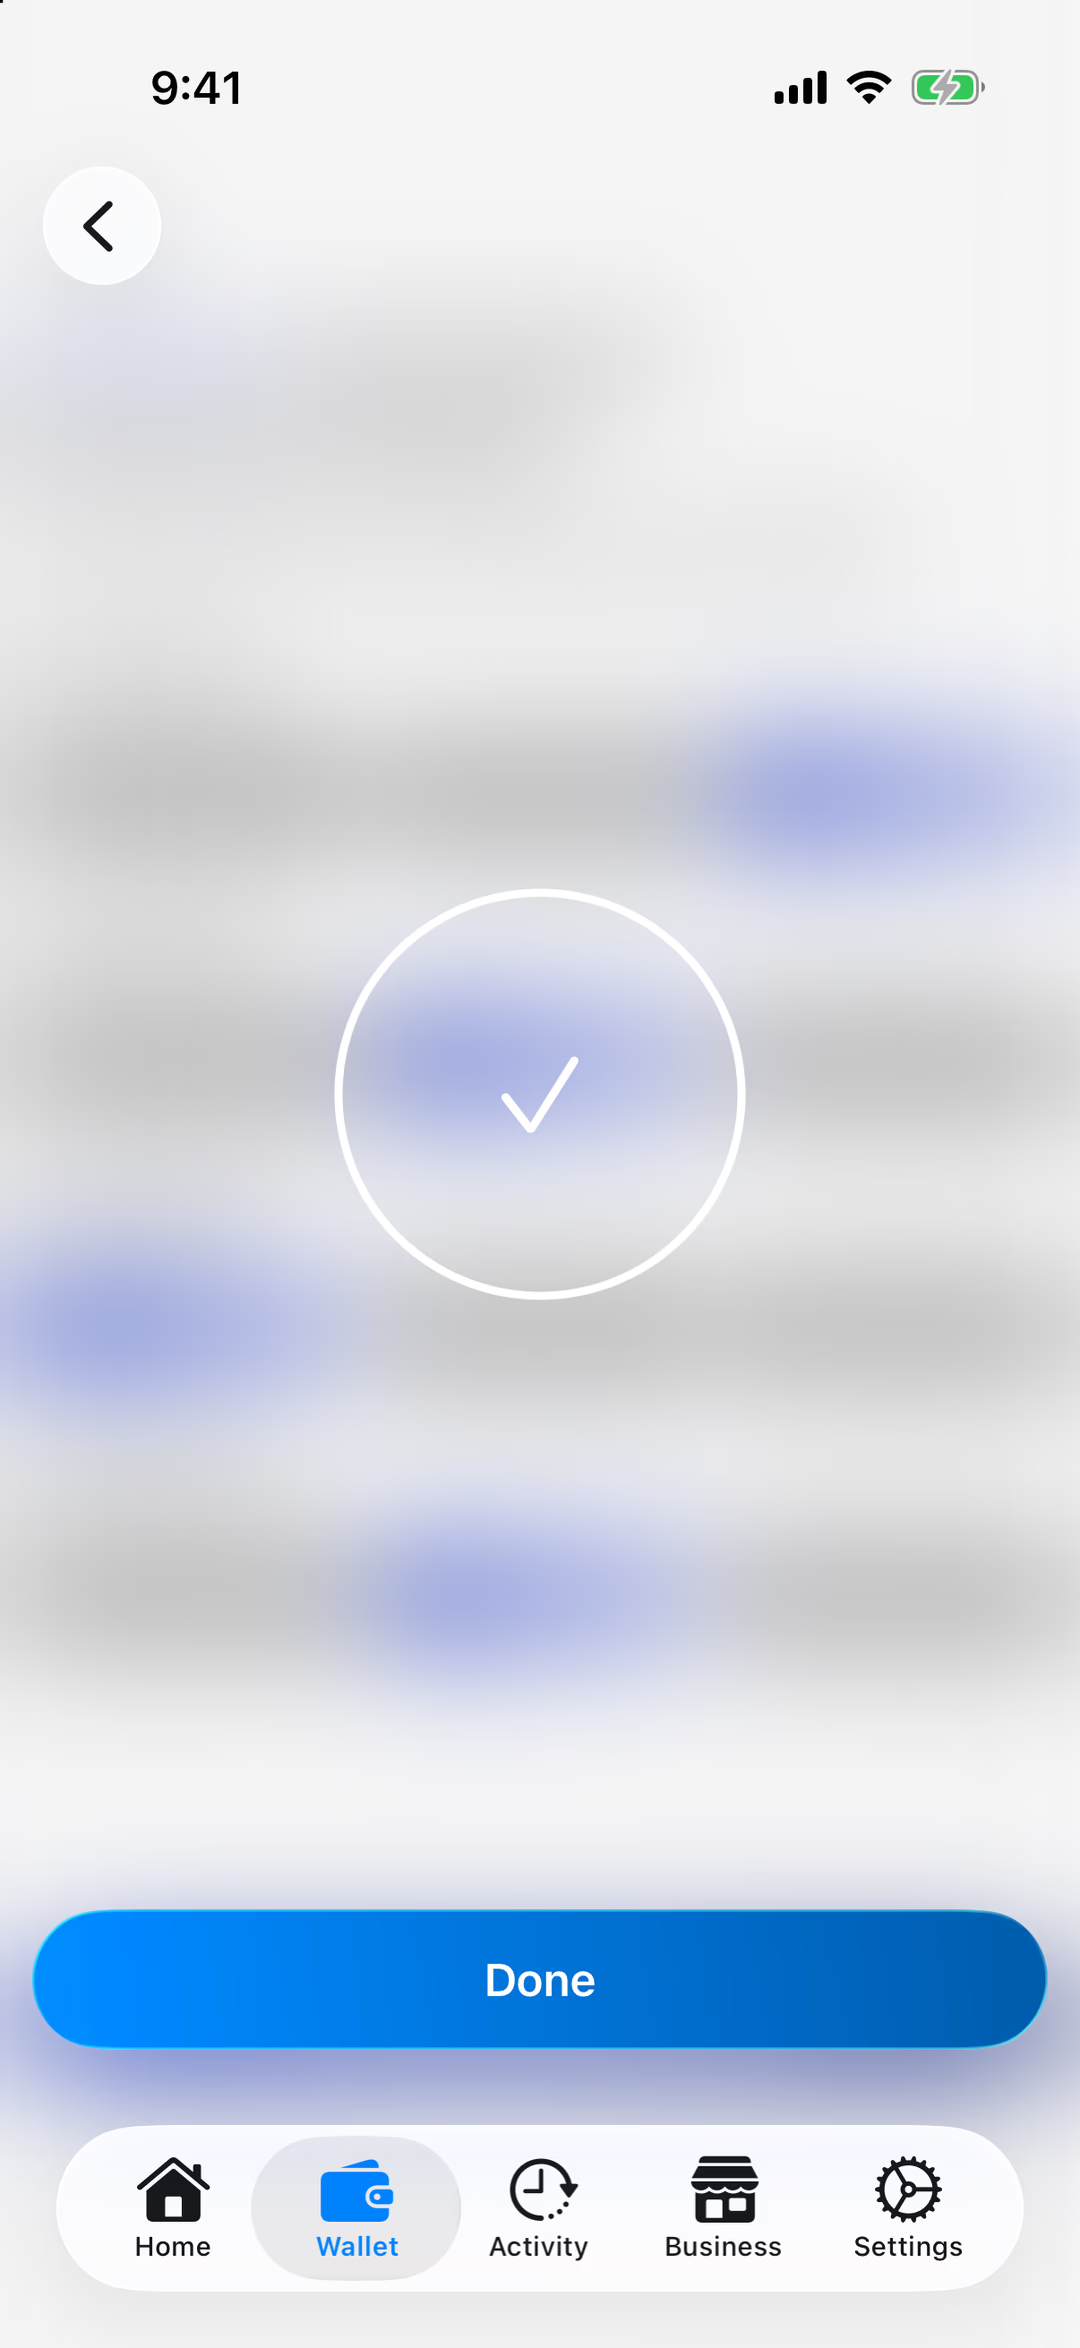
Your wallet is created — and backed up.
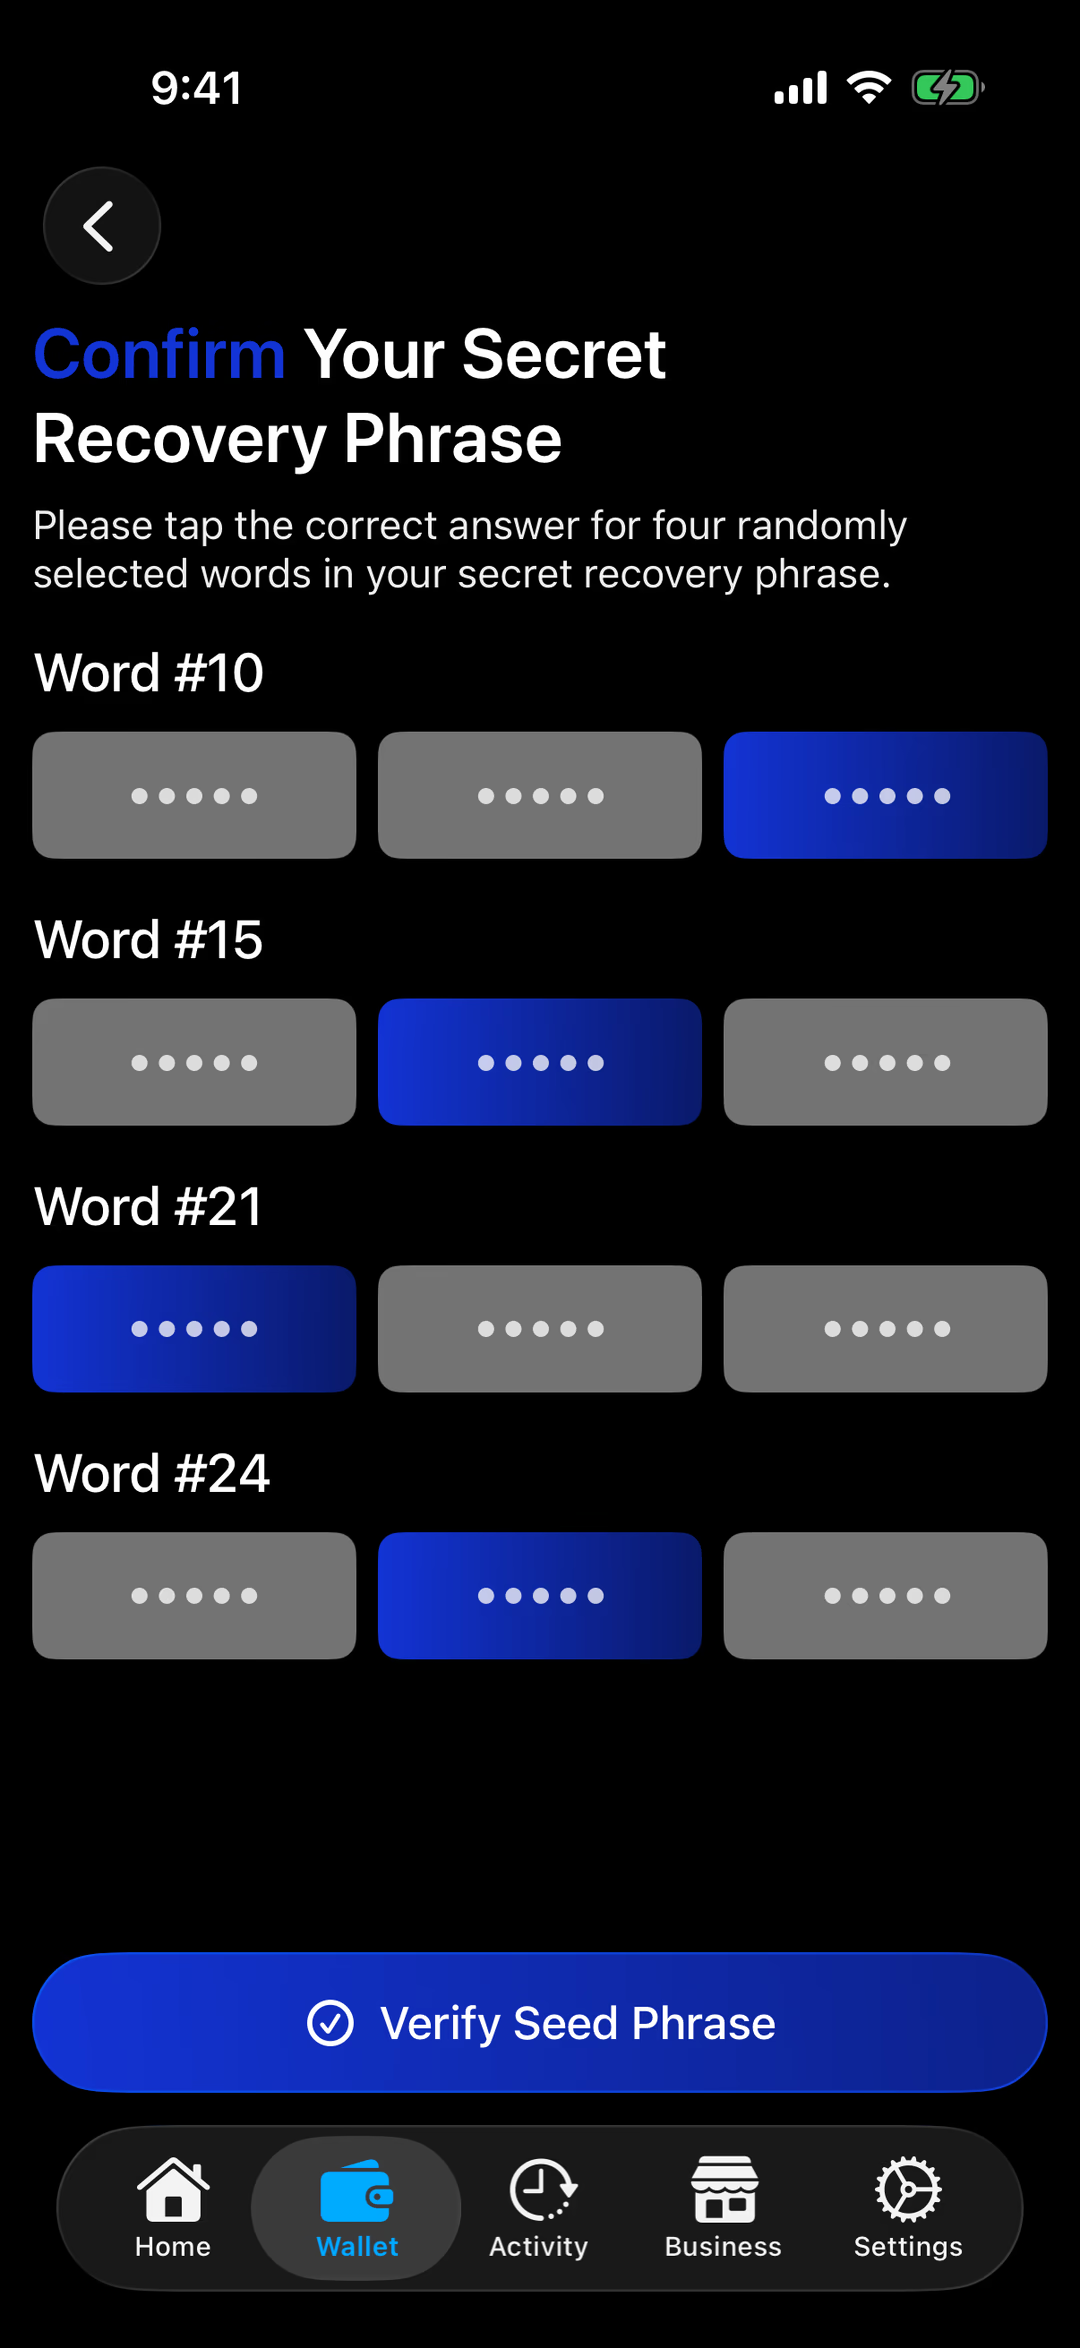
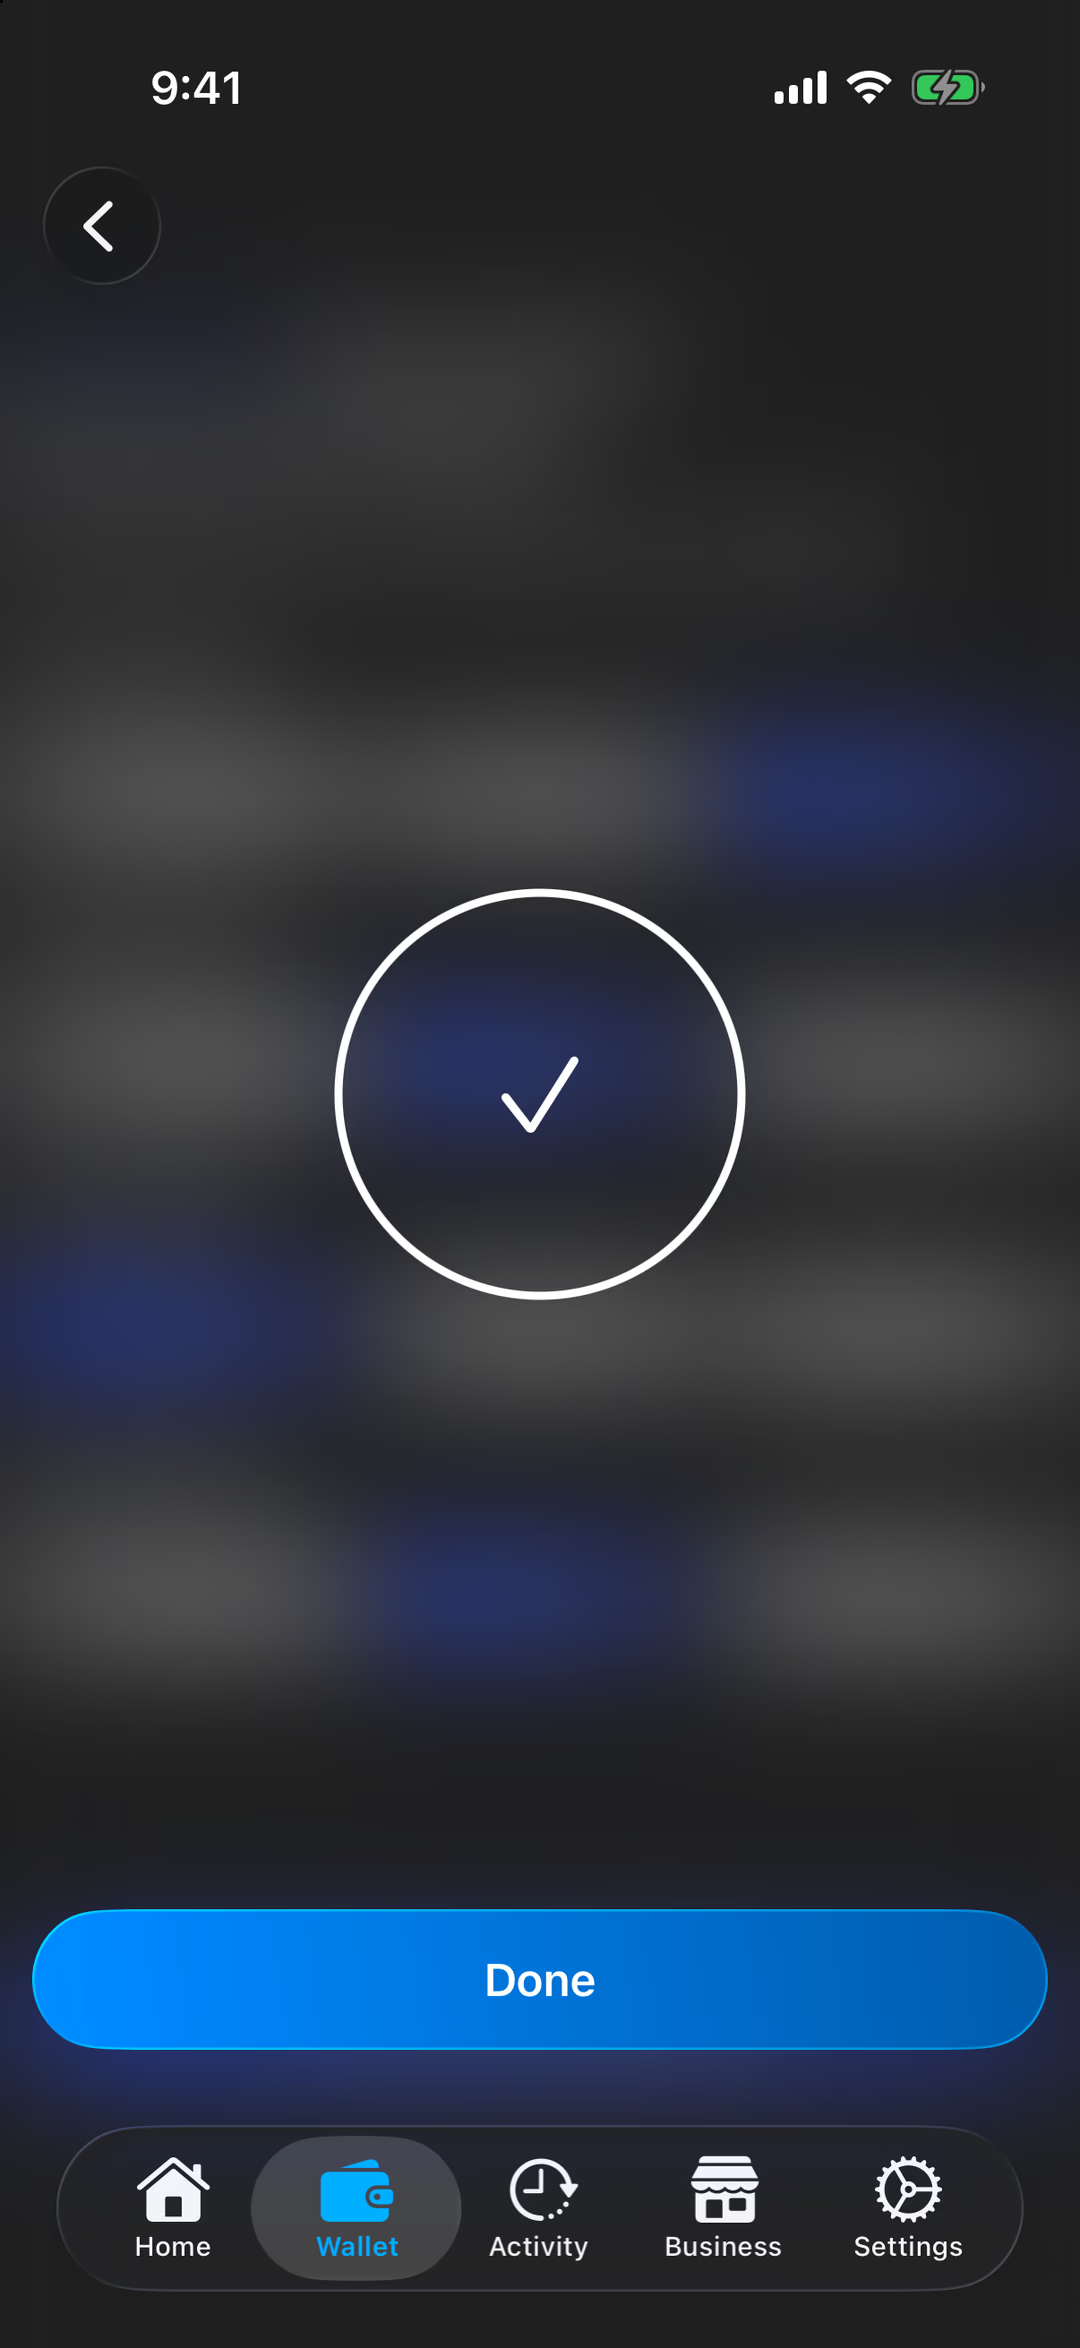
Got one wrong?
Step 6 of 7 · Lock it
Lock Your Wallet
Switch on Face ID or fingerprint, so only you can open it.
THAT doesn't switch this on for you
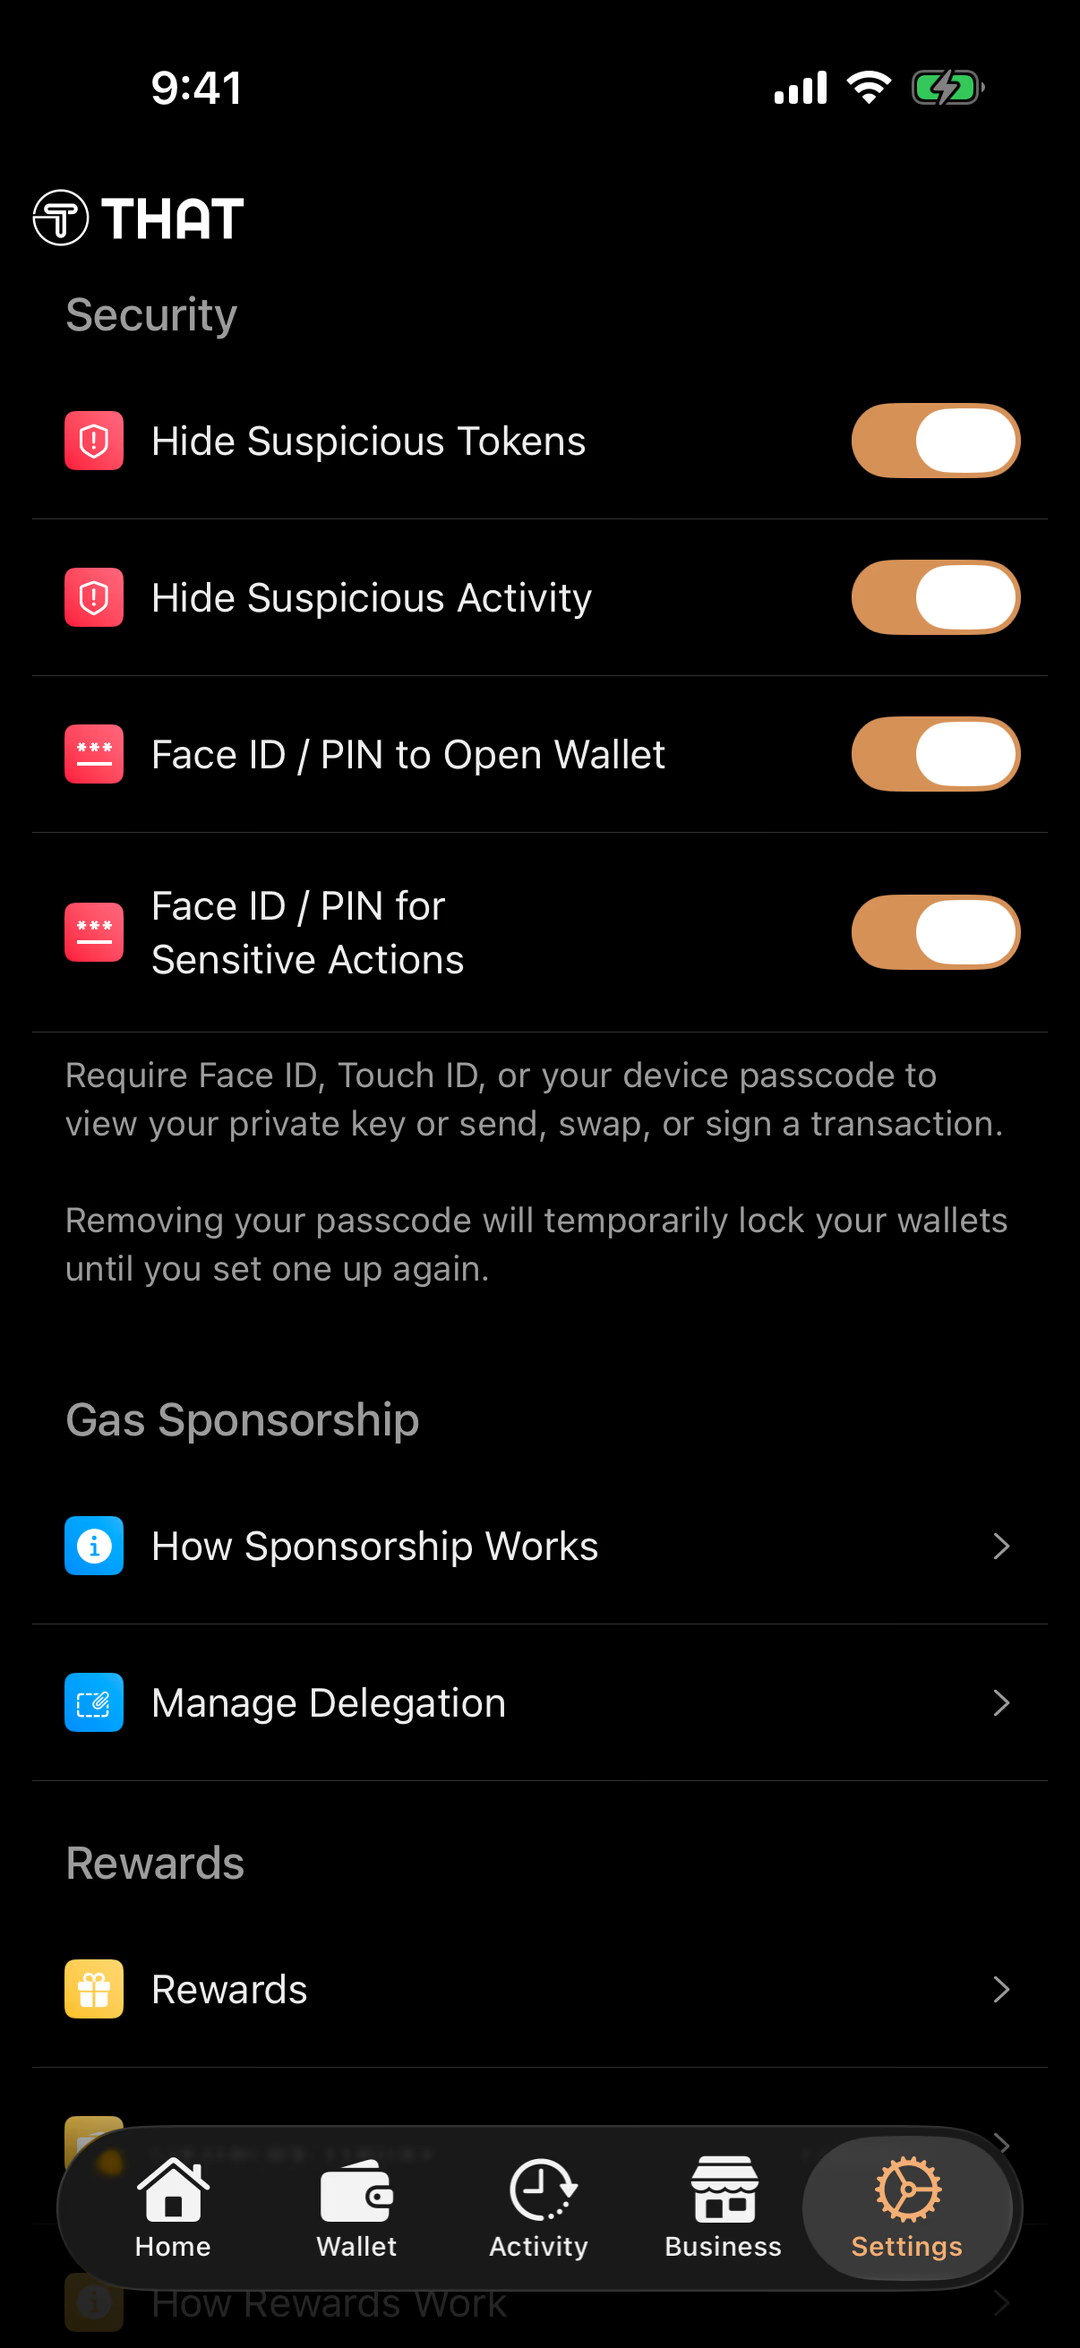
Tap Settings at the bottom right, then scroll down to Security.
Turn on Face ID / PIN to Open Wallet and Face ID / PIN for Sensitive Actions, and confirm with Face ID when asked.
On Android they're called Biometric / PIN to Open Wallet and Biometric / PIN for Sensitive Actions.
See Device passcode required? Your phone has no screen lock yet. Set one up in your phone's own Settings, then come back and try again.
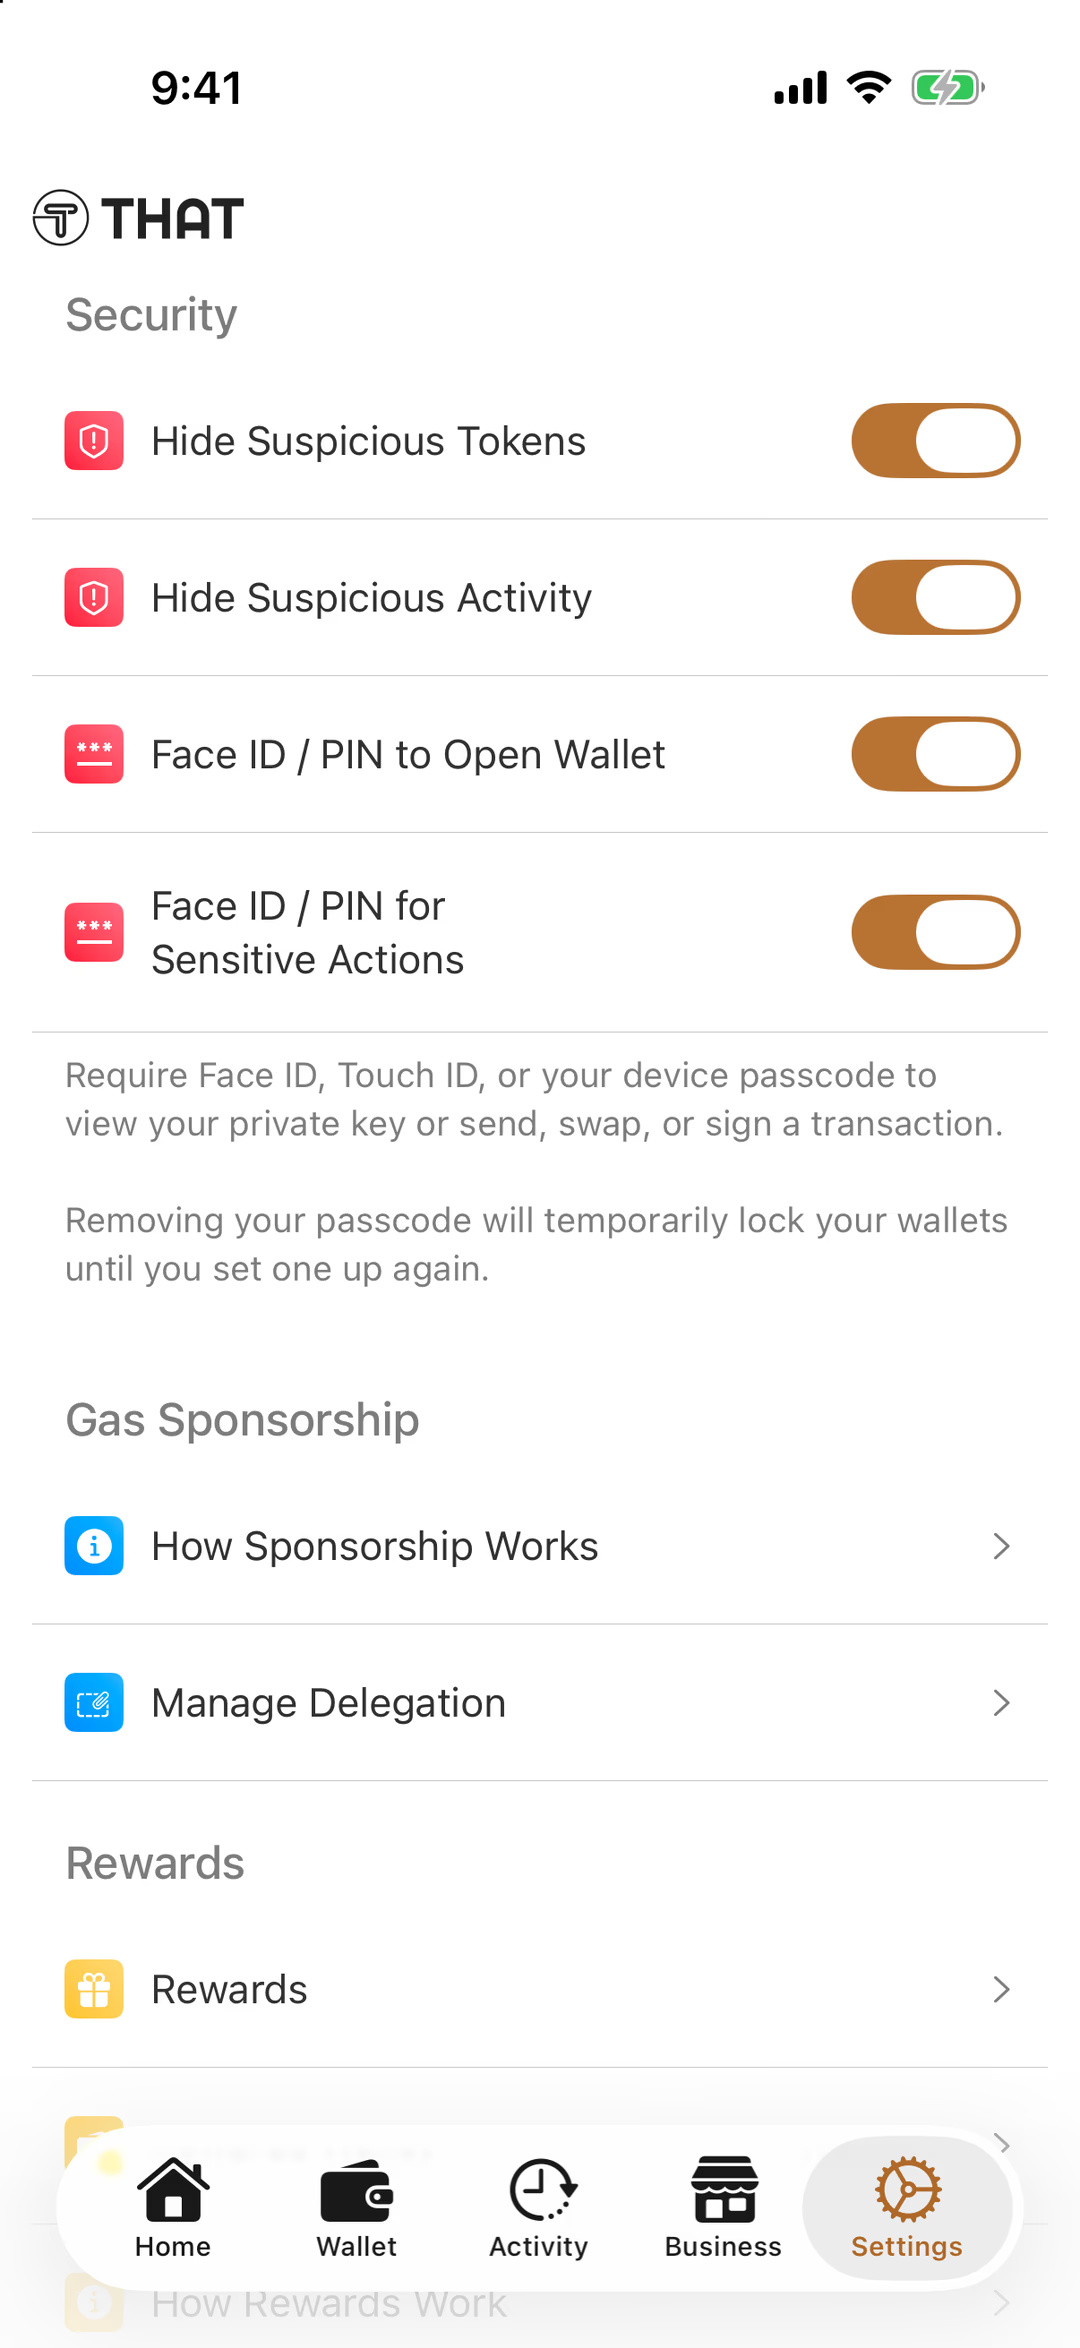
Both switches on — that's it.
Step 7 of 7 · Finish
Final Check
Tick all three and you're done.
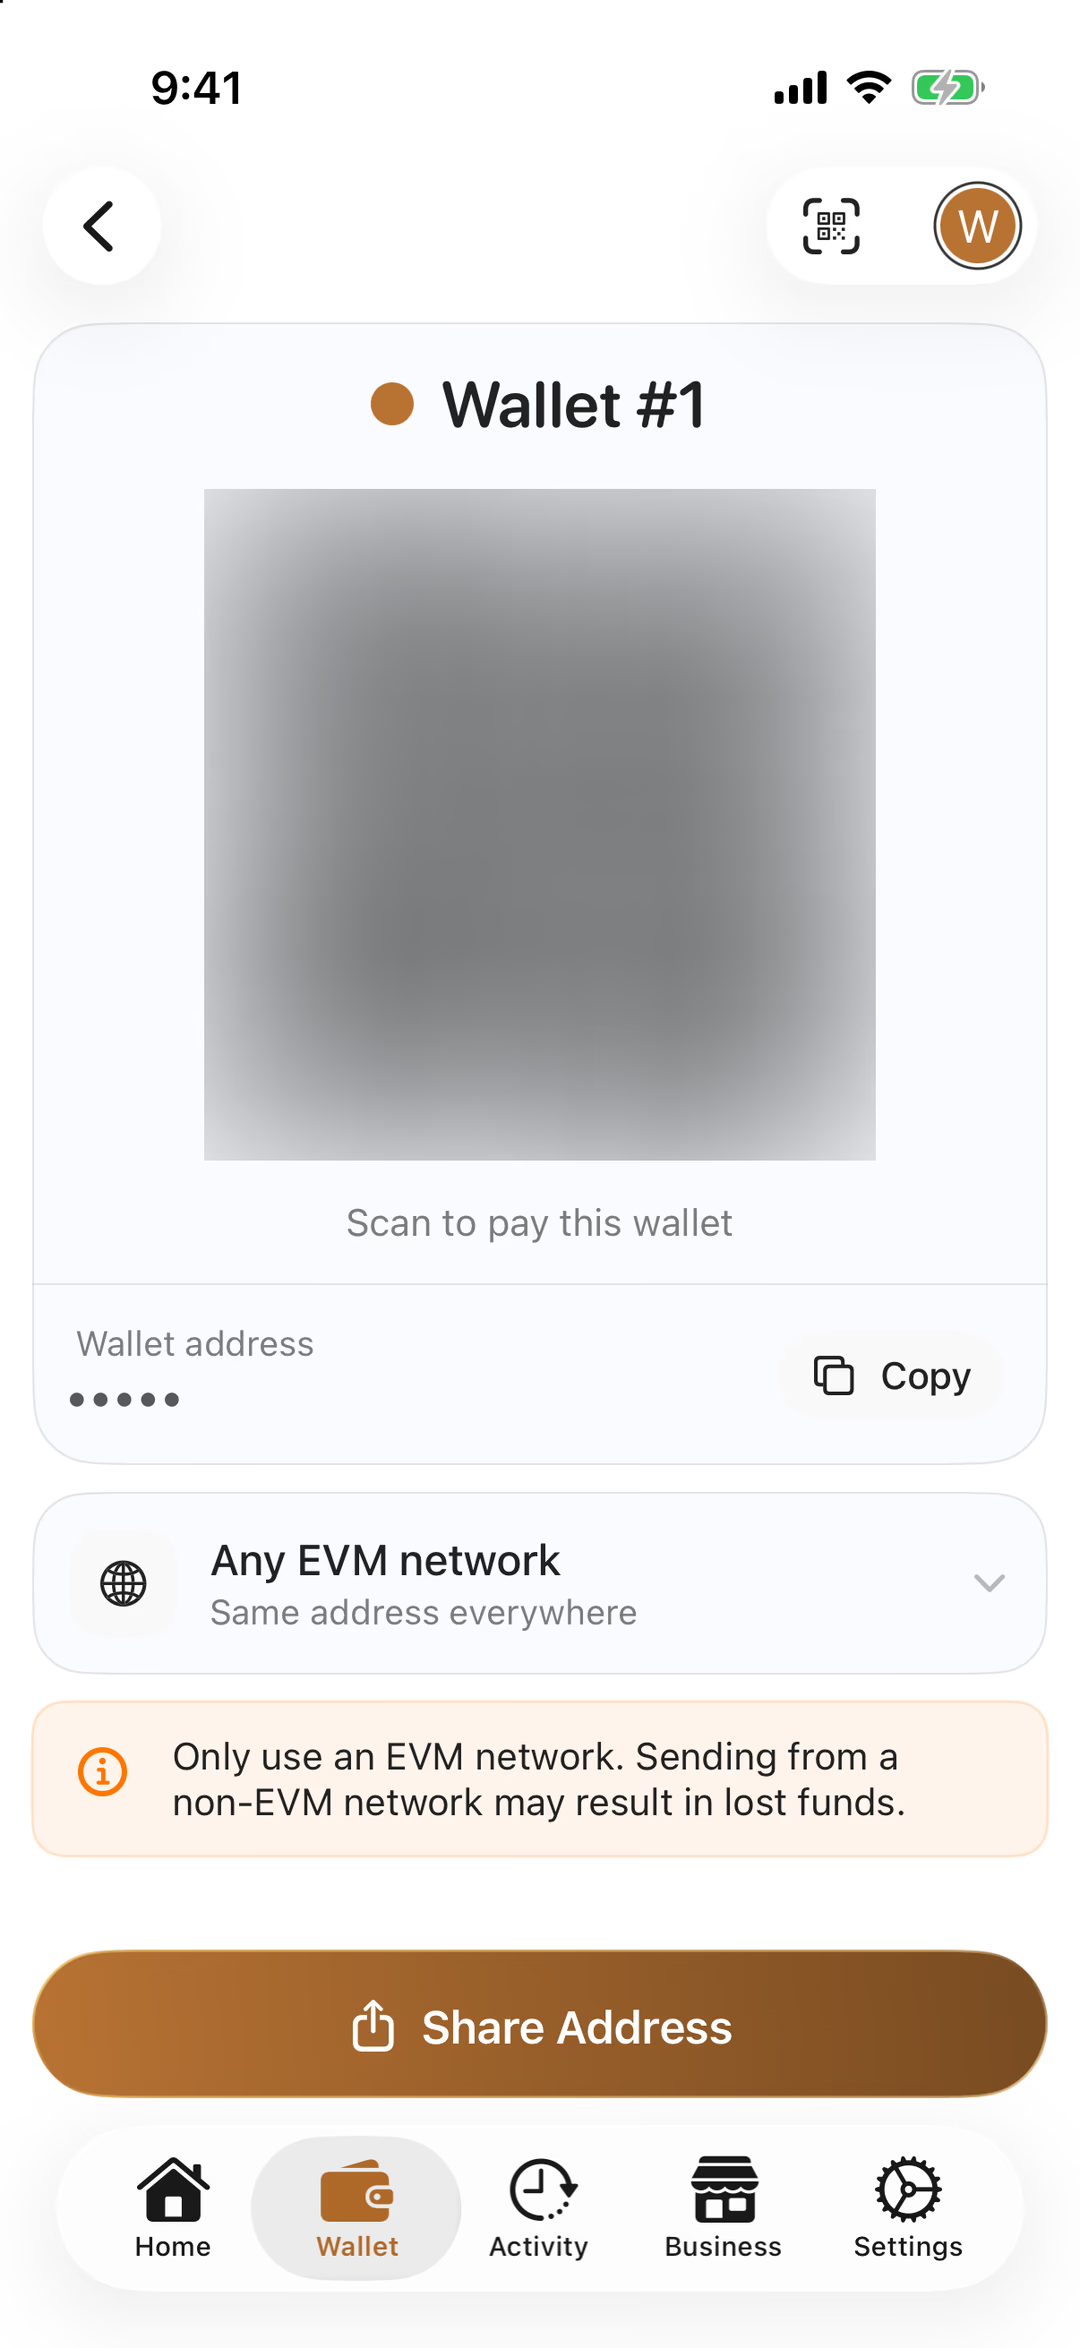
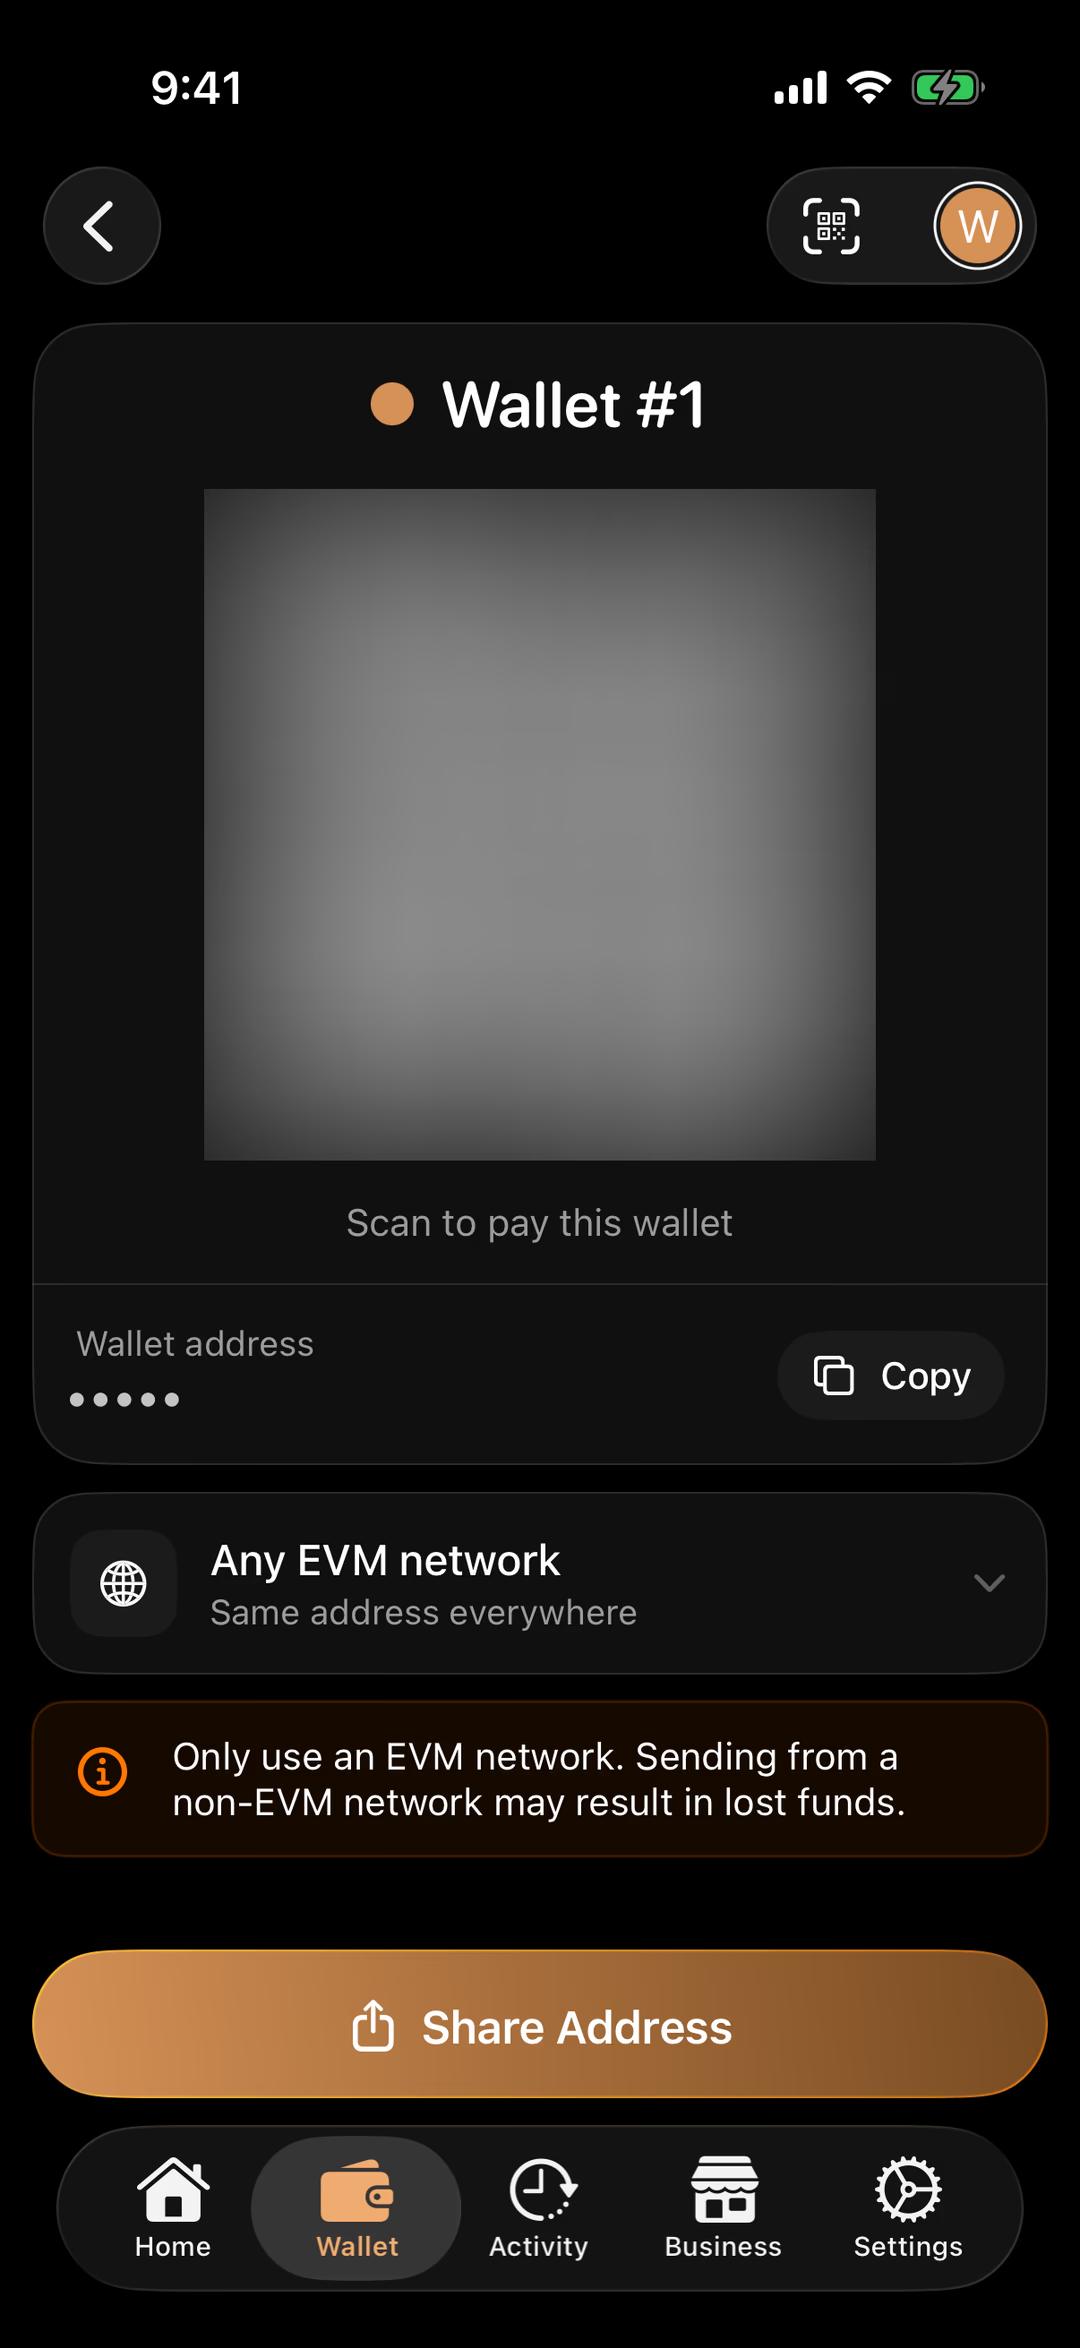
Your address is safe to share
Setup complete
Your Wallet Is Ready
You're now in full control of your crypto. Your recovery phrase is the one thing that can't be replaced — keep it safe, keep it offline, and never share it.
What's next
Add some crypto. Tap Buy in the app to top up with Banxa — by card, Apple Pay or Google Pay. Or buy THAT on CoinStash.
Start small. Send yourself a small amount first and check it arrives before moving anything larger.
Find somewhere to spend it. Browse the businesses that accept THAT — cafés, restaurants, services and more.
Learn how to pay. How to pay with crypto using the THAT app — scan, confirm, done.
Questions About Your Wallet
I tapped Backup Later by mistake — what now?+
Your wallet works, but it has no backup yet, and the app won't remind you. Back it up now: in the Wallet tab, tap your wallet card to open Wallet settings, then tap Recovery phrase. Write the 24 words on paper exactly as in step 4, and store them somewhere safe.
What happens if I lose my phone?+
Your crypto isn't stored on your phone — your recovery phrase controls it. Install THAT on your new phone, tap Wallet, then Add an Existing Wallet, and enter your 24 words to restore your wallet and everything in it.
What if I lose my recovery phrase?+
While you still have your phone, your wallet keeps working — but you'd have no backup if the phone were lost. Write a new copy straight away from Wallet settings → Recovery phrase. If you think someone else may have seen your words, create a new wallet and move your funds into it.
Can THAT recover my wallet or reset my recovery phrase?+
No. THAT is self-custody: your recovery phrase is created on your phone and never sent to us, so we can't see it, reset it or recover it. That's what keeps your crypto yours — and why your paper backup matters so much.
Someone is asking for my recovery phrase. Should I give it to them?+
Never. THAT staff will never ask for it, and no genuine support team, exchange or app ever will. Anyone who asks — even if they say they're from THAT — is trying to steal your crypto. Don't reply; block and report them.
Is it safe to share my wallet address?+
Yes. Your wallet address (it starts with 0x) is how people send you crypto — like an account number. It can't be used to take anything. Tap Receive in the app to find it.